Step 4: Remove from Heat and Add the Chocolate
Once the mixture reaches the right temperature, remove the saucepan from the heat. Quickly stir in the chocolate chips until fully melted and smooth.
Step 5: Add Marshmallow Crème and Vanilla
Immediately stir in the marshmallow crème and vanilla extract. The mixture will thicken as you stir—this is a good sign! Stir vigorously until fully combined and glossy.
Step 6: Add Nuts (Optional)
If using, fold in your chopped nuts at this stage. They add a wonderful crunch and a slight bitterness that balances the sweetness.
Step 7: Pour into the Pan
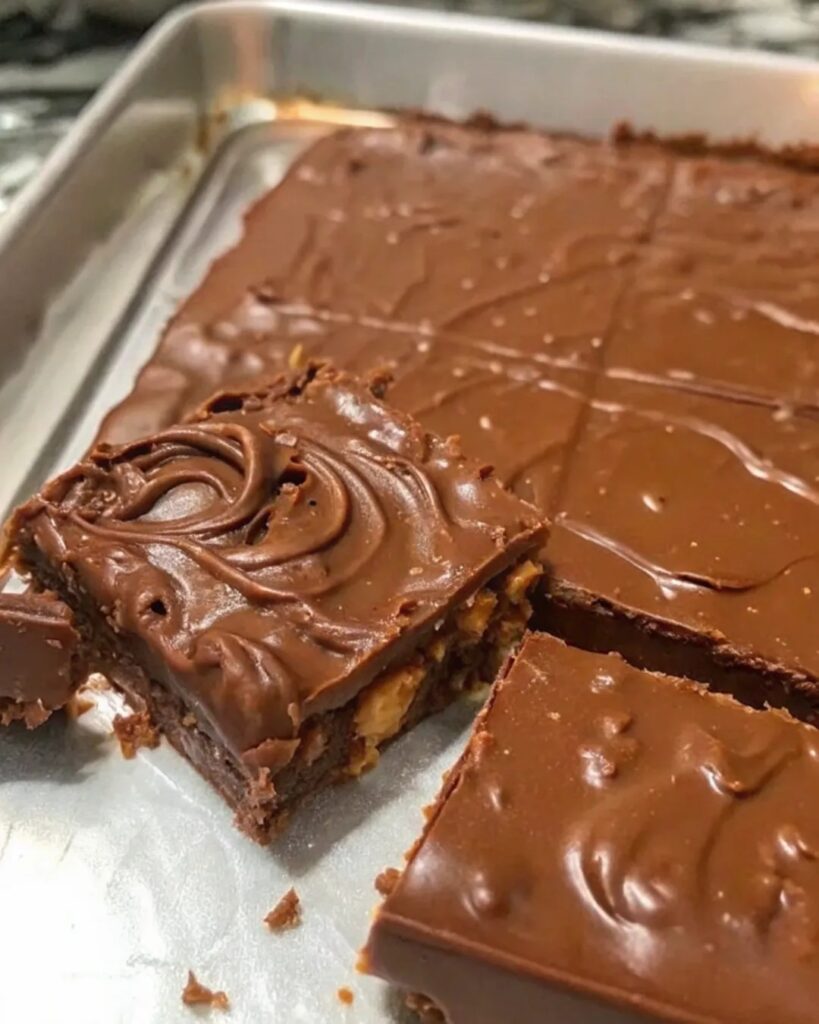
Quickly pour the hot fudge into your prepared pan. Use a spatula to spread it evenly into the corners. Smooth the top if needed.
Step 8: Let It Cool
Let the fudge sit at room temperature for about 4 hours, or until completely set. You can also refrigerate it to speed up the process, but room temperature setting ensures the best texture.
Step 9: Slice and Serve
Once fully set, lift the fudge out using the parchment overhang or loosen the edges with a knife. Cut into small squares—this fudge is rich, so a little goes a long way!
Storage Tips
- Room Temperature: Store in an airtight container for up to 1 week.
- Refrigerated: Keeps for up to 2-3 weeks.
- Freezing: Freeze in layers between wax paper for up to 3 months. Thaw at room temperature before serving.
Final Thoughts
My Mom’s Fudge isn’t just a recipe—it’s a piece of family tradition wrapped in chocolate. Whether you’re making it for a holiday party, a gift basket, or just a personal indulgence, each piece tells a story of home, comfort, and sweet memories. Give it a try, and it just might become a tradition in your family too.
Would you like a printable version or a variation like peanut butter fudge or vegan fudge?


No Responses Yet