Step 4 – Let the Water Evaporate
- Once the water is gone, the bacon will begin frying in its own rendered fat.
- At this point, keep an eye on it—this is where the crisping magic happens.
Step 5 – Flip and Crisp
- Use tongs to flip the bacon halfway through cooking.
- Continue until it reaches your desired crispiness.
- For extra flavor, sprinkle with pepper or brush lightly with maple syrup in the last minute of cooking.
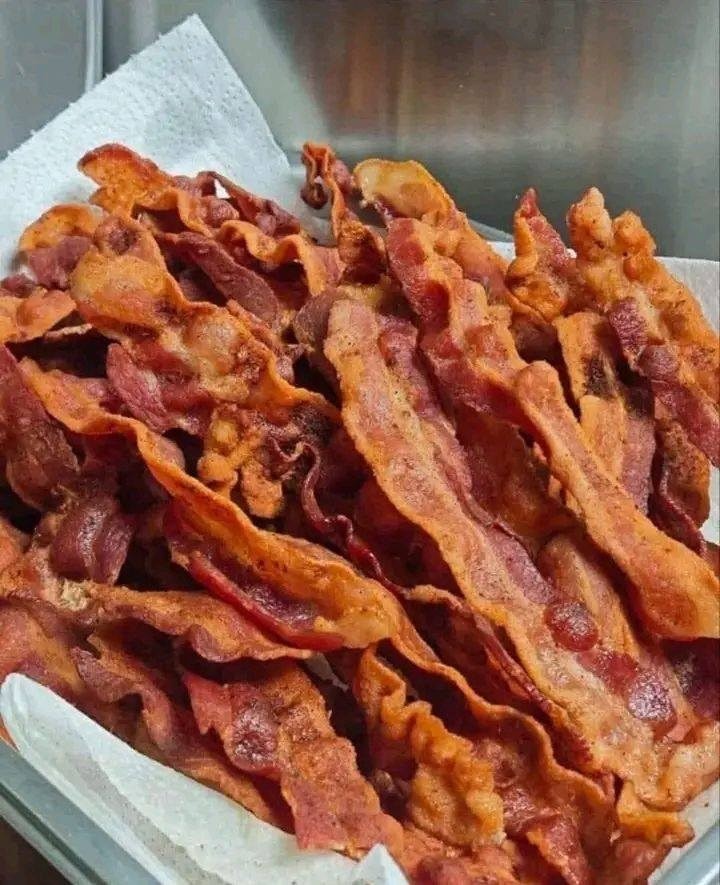
Step 6 – Drain and Serve
- Transfer the cooked bacon to a plate lined with paper towels to drain excess fat.
- Serve hot and crunchy—perfect on its own or as part of a recipe.
Pro Tips for Next-Level Bacon
- Oven option: For even less mess, you can use the same water trick on a rimmed baking sheet and bake at 200°C (400°F) for 15–20 minutes.
- Bacon fat bonus: Save the rendered fat in a jar—it’s gold for cooking eggs, roasting veggies, or making cornbread.
- Thick vs. thin cut: Thick-cut bacon may need a little more water and a slightly longer cook time.
Why You’ll Never Go Back
This method delivers:
- Perfect texture – Crispy edges with a tender bite
- Less splatter – The water reduces grease popping
- Even cooking – No half-burnt, half-raw strips
- Cleaner flavor – Fully rendered fat = pure bacon bliss
Once you try bacon this way, you’ll understand why chefs and food lovers swear by the water trick. It’s one of those small changes that make a huge difference in your kitchen.
If you want, I can also write a catchy 2-sentence social media hook that teases the “water trick” so people can’t resist clicking. It would make this article even more shareable.


No Responses Yet