Step-by-Step Instructions
Step 1: Activate the Yeast
In a small bowl, combine the warm water (about 110-115°F) with the sugar and yeast. Stir gently and let it sit for about 5-10 minutes until the yeast becomes frothy and bubbly. This is called proofing the yeast and is essential to ensure your yeast is active.
Step 2: Combine the Dry Ingredients
In a large mixing bowl, combine 5 cups of the flour and salt. Stir to distribute the salt evenly throughout the flour.
Step 3: Add the Wet Ingredients
Once the yeast mixture is ready, pour it into the flour mixture. Add the softened butter. Using a wooden spoon or a stand mixer with a dough hook attachment, mix the ingredients until they start coming together into a dough.
Step 4: Knead the Dough
Knead the dough by hand or using a stand mixer for about 8-10 minutes. If the dough is too sticky, gradually add more flour (up to 1 cup, if needed) until it becomes smooth and elastic. The dough should be soft but not sticky, and it should spring back when poked.
Step 5: First Rise
Shape the dough into a ball and place it in a lightly greased bowl. Cover the bowl with a clean kitchen towel or plastic wrap and let it rise in a warm place for about 1 to 1.5 hours, or until it has doubled in size. A good spot is inside the oven with the oven light on, which provides gentle warmth.
Step 6: Shape the Loaves
Once the dough has risen, punch it down to release the air. Turn the dough out onto a lightly floured surface and divide it into two equal portions. Shape each portion into a loaf by rolling it into a tight cylinder. Pinch the seams to seal, then place the loaves into two greased 9×5-inch loaf pans.
Step 7: Second Rise
Cover the loaf pans with the kitchen towel again and allow the loaves to rise for another 30-45 minutes, or until they’ve doubled in size and have risen above the edges of the pans.
Step 8: Bake the Bread
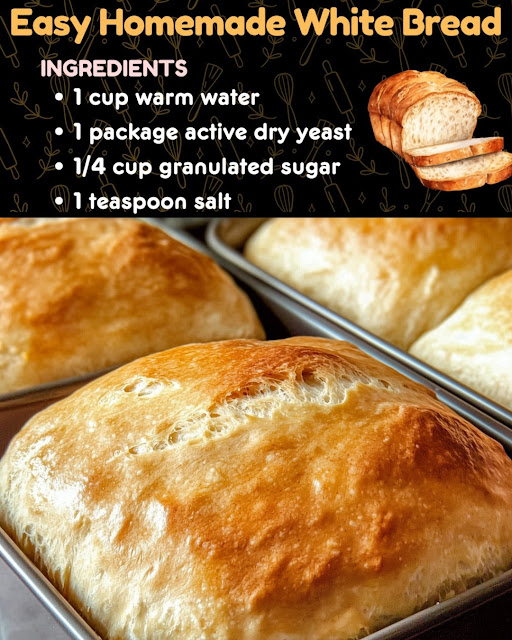
Preheat your oven to 375°F (190°C). Once the loaves have risen, place them in the preheated oven and bake for 25-30 minutes, or until the tops are golden brown and the bread sounds hollow when tapped. If you have a kitchen thermometer, the internal temperature should read 190°F (88°C).
Step 9: Cool and Serve
Remove the loaves from the oven and let them cool in the pans for about 10 minutes. Then, transfer the loaves to a wire rack to cool completely. Allow the bread to cool before slicing to prevent squishing the loaf.
Tips for Perfect Homemade White Bread
- Measure Flour Correctly: Use a spoon to scoop the flour into the measuring cup and level it off with a knife to avoid using too much flour, which can make the bread dense.
- Watch Your Water Temperature: If the water is too hot, it can kill the yeast. Aim for 110-115°F to activate the yeast without harming it.
- Kneading is Key: Kneading helps develop the gluten, which gives the bread structure. The dough should become smooth and elastic during the kneading process.
- Check for Doneness: Aside from the golden color, tap the top of the loaf. If it sounds hollow, it’s done. You can also use a kitchen thermometer to check if the internal temperature reaches 190°F.
- Add Flavor: While this recipe is a classic white bread, you can customize it by adding herbs, cheese, garlic, or even seeds on top for extra texture and flavor.
Storing and Freezing Homemade White Bread
- Storing: Once fully cooled, store the bread in an airtight container or wrapped in plastic wrap at room temperature. It should stay fresh for 3-4 days.
- Freezing: If you want to make extra loaves and freeze them, wrap the cooled bread tightly in plastic wrap and then aluminum foil. Freeze for up to 3 months. To thaw, leave it at room temperature for a few hours or overnight.


No Responses Yet