
Step 2: Make the creamy layer
- In a large mixing bowl, beat the softened cream cheese with powdered sugar until smooth and creamy.
- Add vanilla extract and continue mixing.
- Gently fold in the whipped topping until fully incorporated, creating a light, fluffy layer.
- Spread this cream mixture evenly over the chilled crust, smoothing the top with a spatula.
Step 3: Prepare the pineapple layer
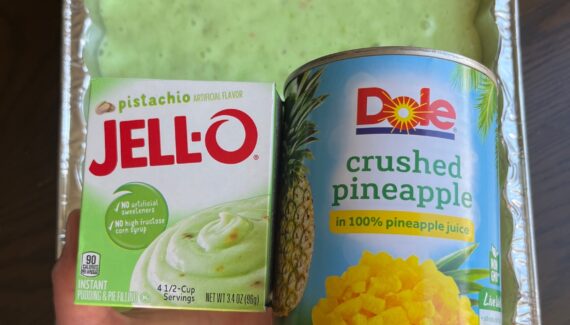
- In a separate bowl, whisk the instant vanilla pudding mix with 1 cup of milk until it thickens slightly (about 2 minutes).
- Fold in the drained crushed pineapple. Make sure the mixture is well combined, ensuring every bite has pineapple flavor.
- Carefully spread the pineapple-pudding mixture over the creamy layer.
Step 4: Chill and set
- Cover the dessert with plastic wrap or foil.
- Refrigerate for at least 4 hours, or overnight for best results. This allows the layers to firm up and the flavors to meld beautifully.
Step 5: Add finishing touches
- Before serving, top the dessert with optional pineapple chunks, toasted coconut, or cherries for extra tropical flair.
- Slice into squares or rectangles and serve chilled.
Tips for Success
- Use fresh pineapple if possible, for a more natural sweetness and juicier texture.
- Chill longer if you prefer a firmer dessert that holds its shape well when cut.
- Add a splash of pineapple juice to the cream layer for extra moisture and flavor.
- For a lighter version, substitute part of the cream cheese with Greek yogurt.
Why This Dessert Is a Crowd-Pleaser
The No-Bake Pineapple Dream Dessert is loved for its combination of textures: the crisp crust, the smooth cream, and the sweet, juicy pineapple topping. It’s simple to prepare, requires no baking skills, and looks impressive when served. Plus, it’s tropical and refreshing—a perfect antidote to hot days or holiday feasts.
This dessert proves that sometimes, the simplest recipes can be the most memorable. One bite, and you’ll understand why it’s called a “dream dessert”!
If you want, I can also create a quick visual layer guide showing exactly how each layer should look—it makes it even easier to follow. Do you want me to do that?


No Responses Yet