
Here’s a detailed, step-by-step article about making Old-Fashioned Soft and Buttery Yeast Rolls—perfect for family dinners, holiday feasts, or any time you crave warm, fluffy bread straight from the oven.
Old-Fashioned Soft and Buttery Yeast Rolls
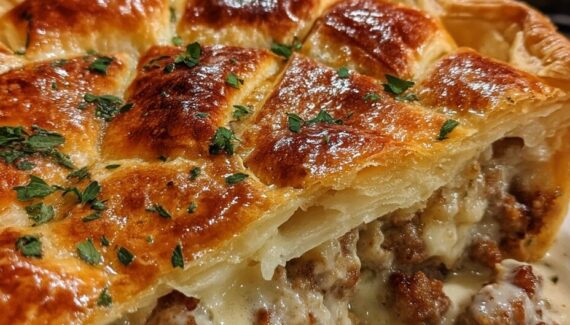
Few things in life are as comforting as the smell of freshly baked yeast rolls. These soft, pillowy rolls with a rich buttery flavor are the ultimate side for any meal. This recipe captures that classic, old-fashioned charm and is simple enough for both beginners and seasoned bakers.
Ingredients
For the dough:
- 1 cup whole milk (warm, about 110°F / 43°C)
- 1/2 cup unsalted butter (melted)
- 1/4 cup granulated sugar
- 2 1/4 teaspoons active dry yeast (1 packet)
- 1 teaspoon salt
- 2 large eggs
- 4 cups all-purpose flour (plus extra for kneading)
For brushing:
- 2 tablespoons unsalted butter (melted, for brushing)
Step-by-Step Method
Step 1: Activate the Yeast
- Pour the warm milk into a small bowl. It should feel comfortably warm to the touch but not hot—about 110°F.
- Stir in 1 tablespoon of the sugar and sprinkle the yeast on top.
- Let it sit for 5–10 minutes until foamy and bubbly. This step ensures your yeast is active and ready to leaven the dough.
Step 2: Prepare the Dough
- In a large mixing bowl, combine the melted butter, remaining sugar, salt, and eggs. Whisk until smooth.
- Add the foamy yeast mixture to the bowl and stir to combine.
- Gradually mix in the flour, one cup at a time. Start with a wooden spoon, then switch to your hands or a stand mixer with a dough hook once it becomes too stiff to stir.
Tip: The dough should be soft, slightly sticky, and elastic. Add a little extra flour if it’s too sticky, but avoid adding too much to keep the rolls tender.
Step 3: Knead the Dough
- Turn the dough out onto a lightly floured surface.
- Knead by hand for 8–10 minutes (or 5–6 minutes in a stand mixer) until smooth and elastic.
- Shape the dough into a ball.
Please Head On keep on Reading (>)


No Responses Yet