 Step 5: Spread and Smooth
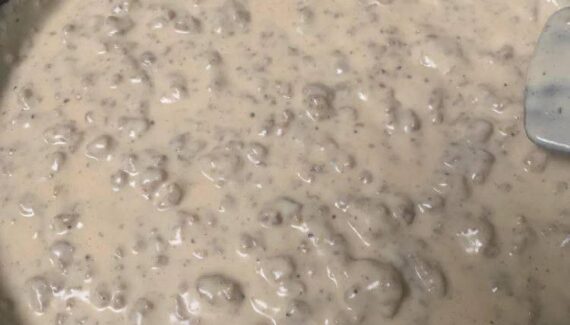
Transfer the chocolate-crunch mixture into the prepared pan. Spread it evenly, pressing lightly with the spatula to create a uniform layer. Avoid pressing too hard—you want the bars to stay light and crispy, not dense.
Step 6: Chill Until Set
Place the pan in the refrigerator for about 30–45 minutes, or until the chocolate is completely firm. This chilling step allows the bars to set cleanly and makes slicing easier.
Step 7: Slice and Serve
Once set, lift the slab out of the pan using the parchment paper. Place it on a cutting board and slice into bars or squares with a sharp knife. For clean edges, wipe the knife between cuts.
Storage and Serving Tips
- Store homemade crunch bars in an airtight container at room temperature for short-term storage or in the refrigerator for longer freshness.
- Let refrigerated bars sit at room temperature for a few minutes before serving to restore their perfect bite.
Creative Variations to Try
- Dark Chocolate Sea Salt Crunch Bars: Sprinkle flaky salt on top before chilling.
- Peanut Butter Crunch Bars: Swirl a little peanut butter into the melted chocolate.
- Layered Crunch Bars: Add a thin layer of melted white chocolate on top for contrast.
Final Thoughts
Homemade Crunch Bars prove that a few simple ingredients can create something truly special. With their crisp texture, rich chocolate flavor, and endless customization options, they’re perfect for sharing, gifting, or enjoying as a sweet treat anytime the craving hits. Once you try making them yourself, you may never go back to store-bought again. 🍫✨


No Responses Yet