
Step 4: Beat the Fudge
- Using a wooden spoon or spatula, beat the mixture for 3–5 minutes.
- You’ll notice it begins to thicken and lose some of its gloss—this is the perfect fudge texture forming.
Pro Tip: Be patient—over-beating can make the fudge grainy, but under-beating may prevent it from setting properly.
Step 5: Pour into Pan
- Quickly pour the fudge mixture into the prepared pan.
- Smooth the top with a spatula.
- Tap the pan gently on the counter to release any air bubbles.
Step 6: Cool and Set
- Let the fudge cool at room temperature for about 2 hours.
- For faster setting, you can place it in the refrigerator for 30–45 minutes.
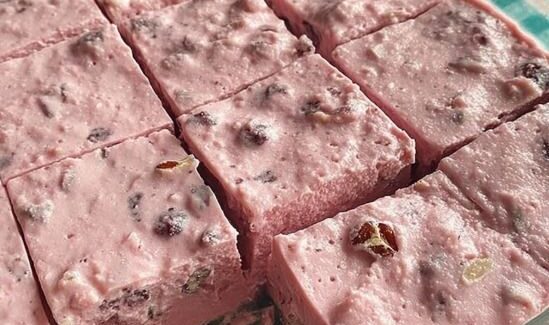
- Once firm, lift the fudge out of the pan using the parchment overhang and cut into 1-inch squares.
Step 7: Serve and Store
- Serve immediately or store in an airtight container.
- Fudge will keep at room temperature for up to 2 weeks, or in the fridge for up to a month.
Tips for Perfect Old Fashioned Fudge
- Chocolate choice matters: Use high-quality semi-sweet chocolate for a deep, rich flavor.
- Avoid crystallization: Stir gently and consistently when cooking the sugar mixture.
- Flavor variations: Add a pinch of cinnamon, a splash of bourbon, or swirl in peanut butter for creative twists.
- Nuts: Toasting nuts beforehand brings out a richer flavor.
Why This Fudge Is Special
Old Fashioned Fudge isn’t just candy—it’s a tradition. Its creamy texture, buttery sweetness, and chocolatey richness make it a comforting treat that evokes memories of family gatherings, holiday baking, and cozy afternoons. Each bite is a perfect balance of smooth chocolate and subtle sweetness that melts on your tongue.
If you want, I can also create a step-by-step visual guide with pictures, showing exactly how the fudge looks at each stage from cooking to cutting. It’s really helpful if you want to make it perfectly smooth.
Do you want me to do that?


No Responses Yet