
Step 3: Prepare the Honeybun Swirl
- In a small bowl, mix brown sugar, cinnamon, and melted butter until smooth.
- Pour half of the cake batter into the prepared pan.
- Spoon half of the honeybun mixture over the batter. Repeat with the remaining batter and honeybun topping.
- Use a knife or skewer to swirl the honeybun mixture into the cake batter lightly. This creates the signature marbled honeybun effect.
Step 4: Bake the Cake
- Place the pan in the preheated oven and bake for 35–40 minutes, or until a toothpick inserted in the center comes out clean.
- Allow the cake to cool completely in the pan on a wire rack before icing.
Step 5: Make the Strawberry Cream Icing
- In a mixing bowl, beat softened butter until creamy.
- Gradually add powdered sugar, one cup at a time, beating well between additions.
- Stir in the strawberry puree and vanilla extract.
- Add heavy cream or milk, one tablespoon at a time, until you reach a smooth, spreadable consistency.
- Taste and adjust sweetness if needed.
Step 6: Ice the Cake
- Once the cake has cooled completely, spread the strawberry cream icing evenly over the top.
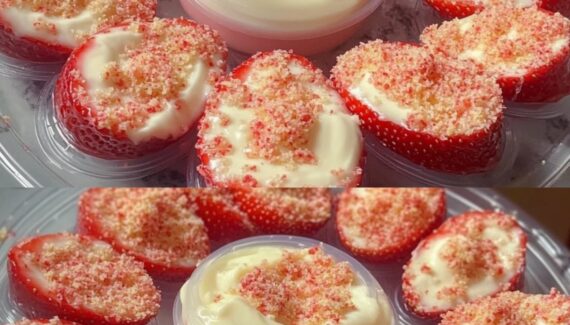
- Optional: Decorate with fresh strawberry slices, a sprinkle of cinnamon, or a drizzle of melted white chocolate for extra flair.
Step 7: Serve and Enjoy
- Slice the cake into generous squares or rectangles.
- Store any leftovers in an airtight container in the refrigerator for up to 4 days.
Tips for the Perfect Strawberry Honeybun Cake
- Fresh strawberries: Choose ripe but firm strawberries to prevent the batter from becoming too watery.
- Swirl carefully: Don’t over-swirl the honeybun mixture, or it will lose its distinct cinnamon swirl.
- Chill the icing: If the icing seems too soft, chill it for 10–15 minutes, then spread—it will hold its shape better.
- Extra flavor: Add a teaspoon of strawberry extract for a more intense fruity taste.
This Strawberry Honeybun Cake with Strawberry Cream Icing is soft, sweet, and perfectly balanced between fruity freshness and cinnamon-sugar goodness. Every bite is like a bite of a homemade bakery treat, perfect for impressing family or friends—or just treating yourself!
If you want, I can also make a visual step-by-step guide showing the cake layers, swirl, and icing technique—it would look almost like a recipe video in pictures. It makes baking this cake much easier.
Do you want me to make that visual guide?


No Responses Yet