
Step 3: Assemble the Cheesecake
- Fill the crust: Spoon the cheesecake filling over the chilled crust, spreading it evenly with a spatula.
- Smooth the top: Ensure the top is smooth and level for an elegant finish.
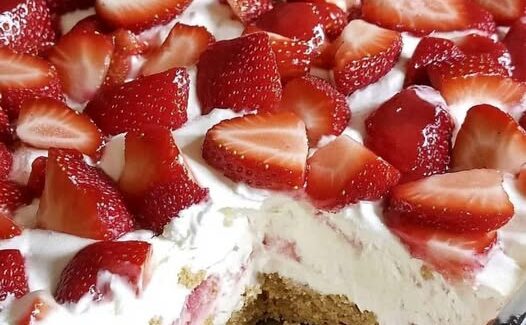
- Add cherries: Spoon the cherry pie filling over the top. You can gently swirl it into the filling for a marbled effect or leave it on top as a layer.
Step 4: Chill and Set
- Refrigerate: Cover the cheesecake with plastic wrap and refrigerate for at least 4 hours, preferably overnight. This helps the filling set and enhances the flavors.
- Serve: Remove the cheesecake from the springform pan, slice, and enjoy. Each bite should have a perfect balance of creamy filling, buttery crust, and sweet cherries.
Tips for Success
- Room temperature cream cheese: Softened cream cheese blends better and avoids lumps.
- Whipping cream: Make sure it’s cold for the best volume.
- Optional variations: Try topping with chocolate shavings, crushed nuts, or a drizzle of chocolate sauce for added flair.
- Make it ahead: This cheesecake can be made a day before serving, making it perfect for parties or special occasions.
Why This Cheesecake is Perfect
This Easy No-Bake Cherry Cheesecake is ideal for both beginners and dessert enthusiasts. It’s quick, requires no oven, and tastes like a gourmet treat. The combination of a crunchy crust, fluffy filling, and tangy cherries makes it a dessert that everyone will love.
If you want, I can also make a shorter, Instagram-ready version of this recipe with a fun visual layout for quick sharing. It would be perfect if you plan to post it online.
Do you want me to do that too?


No Responses Yet