
Step 4: Temper the Eggs
This is a key step. Slowly pour the warm milk into the egg mixture while whisking constantly. This process, called tempering, gently raises the temperature of the eggs without scrambling them.
Take your time—pouring too quickly can ruin the texture.
Step 5: Strain for Smoothness
For an ultra-silky custard, strain the mixture through a fine sieve into a clean bowl. This removes any bits of cooked egg and ensures a perfectly smooth consistency.
Step 6: Pour and Prepare the Water Bath
Pour the custard mixture into your ramekins or baking dish. Sprinkle a light dusting of nutmeg on top if you like that classic flavor.
Carefully pour hot water into the larger pan until it reaches about halfway up the sides of the custard dishes. This water bath (also called a bain-marie) keeps the heat gentle and even.
Step 7: Bake Slowly
Place the pan in the oven and bake for 40–60 minutes, depending on the size of your dishes.
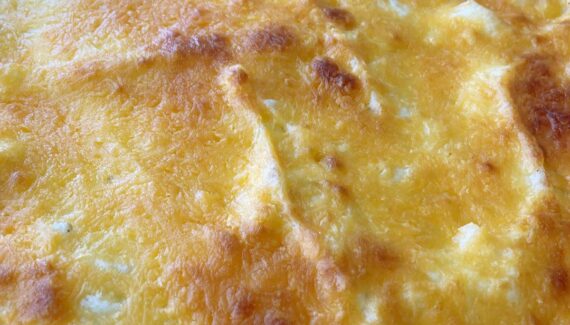
The custard is done when it’s set around the edges but still slightly jiggly in the center. A knife inserted near the center should come out clean.
Step 8: Cool and Serve
Remove the custard from the water bath and let it cool at room temperature. Then refrigerate for at least 2 hours before serving.
You can enjoy it chilled or slightly cool, depending on your preference.
Tips for Perfect Custard
- Low and slow baking is essential—high heat causes curdling.
- Don’t skip the water bath—it’s the secret to creamy texture.
- Use fresh eggs and whole milk for the richest flavor.
- Add variations like a hint of cinnamon or citrus zest for a twist.
Final Thoughts
Old-Fashioned Vanilla Baked Custard is proof that simple ingredients can create something truly special. Its creamy texture and delicate sweetness make it perfect for any occasion—whether it’s a cozy night in or a classic dessert to impress guests.
Once you master this recipe, you’ll always have an elegant, comforting dessert in your repertoire.


No Responses Yet