
Step 3: Add the cheese
Mix in the shredded cheddar cheese. Make sure it is evenly spread throughout the dough so every bite has cheesy flavor.
Step 4: Add the milk
Slowly pour in the cold milk while mixing gently. Stir just until the dough comes together.
⚠️ Important: Do not overmix. Overmixing will make the biscuit sticks dense instead of soft and flaky.
Step 5: Shape the dough
Lightly flour a surface and turn out the dough. Gently press it into a rectangle about 1–1.5 cm thick.
Then, use a knife or pizza cutter to slice the dough into long stick shapes.
You can make:
- Thin crispy sticks (like breadsticks)
- Thick soft sticks (like biscuit fingers)
Step 6: Prepare for baking
Place the sticks on a baking tray lined with parchment paper. Leave a small gap between each one.
Brush the tops with beaten egg for a golden finish.
Optional: sprinkle extra cheddar cheese or herbs on top.
Step 7: Bake
Preheat your oven to 200°C (392°F) and bake for 12–18 minutes, or until the tops are golden brown and the edges are slightly crispy.
Step 8: Cool and serve
Let them cool for 5–10 minutes before serving. This helps them firm up and enhances the texture.
Serving Ideas
Baked cheddar biscuit sticks are very versatile. You can serve them with:
- Tomato soup or creamy soups
- Garlic butter or cheese dip
- Breakfast eggs and omelets
- As a snack with tea or coffee
- Party appetizer platter
Tips for Perfect Biscuit Sticks
- Always use cold butter for flaky layers
- Don’t overwork the dough or it becomes tough
- Use sharp cheddar for stronger flavor
- For extra crispiness, bake a few minutes longer
- For softer sticks, slightly reduce baking time
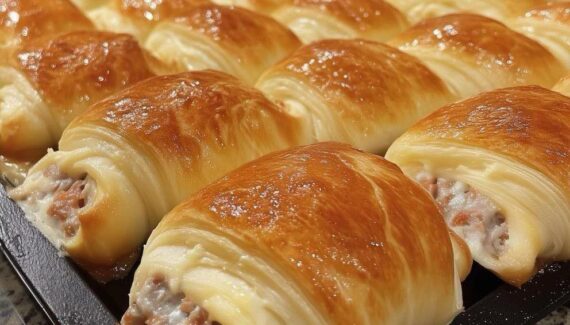
Final Result
When done correctly, baked cheddar biscuit sticks come out golden, cheesy, and aromatic. The outside has a light crunch, while the inside stays soft and buttery. They’re the kind of snack that disappears quickly once served—simple, comforting, and homemade in the best way.


No Responses Yet