
No-Bake Cheesecake Bars: A Creamy, Easy Dessert Recipe Made Step by Step
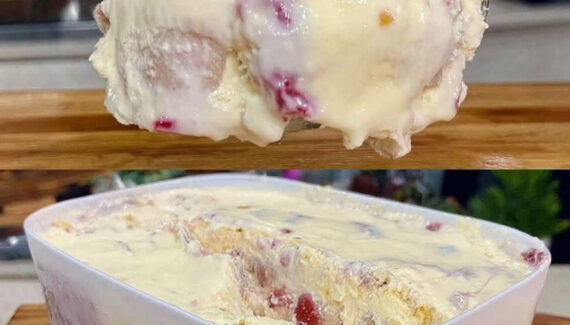
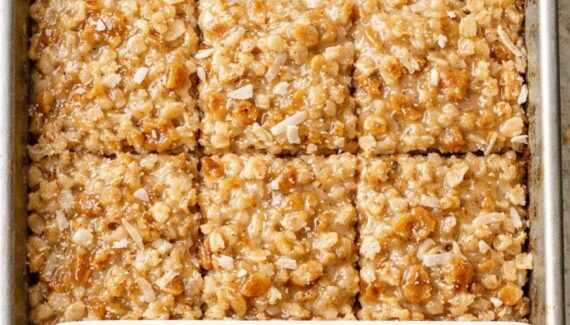
No-Bake Cheesecake Bars are a smooth, creamy, and refreshing dessert made with a buttery cookie crust and a rich cheesecake filling that sets in the refrigerator instead of the oven. They are perfect when you want a homemade cheesecake-style dessert without baking, water baths, or complicated techniques.
These bars are easy to slice, simple to serve, and ideal for parties, family gatherings, holidays, summer desserts, or make-ahead treats. The crust gives a sweet crunch, while the filling is soft, tangy, creamy, and lightly sweet. You can serve them plain or top them with fruit, chocolate, caramel, whipped cream, or cookie crumbs.
What Makes No-Bake Cheesecake Bars Special?
Traditional cheesecake is baked slowly and needs careful temperature control. No-bake cheesecake bars are much easier. The filling is made by combining cream cheese, sugar, vanilla, and whipped cream, then spreading it over a chilled crumb crust.
As the bars chill, the filling firms up naturally. The result is creamy and stable enough to cut into squares, but still softer and lighter than baked cheesecake.
Ingredients
For the Crust
- 2 cups graham cracker crumbs or digestive biscuit crumbs
- ½ cup unsalted butter, melted
- 2 tablespoons granulated sugar
- ¼ teaspoon salt
For the Cheesecake Filling
- 16 oz cream cheese, softened
- ¾ cup powdered sugar
- 1 cup heavy whipping cream, cold
- 1 teaspoon vanilla extract
- 1 tablespoon lemon juice
- ½ teaspoon lemon zest, optional
- ¼ cup sour cream or Greek yogurt, optional for extra tanginess
Optional Toppings
- Fresh strawberries, blueberries, or raspberries
- Strawberry sauce
- Chocolate ganache
- Caramel sauce
- Crushed cookies
- Lemon curd
- Whipped cream
Step 1: Prepare the Pan
Use an 8×8 inch or 9×9 inch square baking pan.
Line the pan with parchment paper, leaving some paper hanging over the sides. This makes it easier to lift the cheesecake bars out after chilling.
Lightly grease the parchment paper if desired.
A square pan works best because it gives the bars a neat shape and makes them easy to cut.
Step 2: Make the Crumb Crust
Add the graham cracker crumbs to a mixing bowl. Pour in the melted butter, sugar, and salt.
Mix until the crumbs look like wet sand. The mixture should hold together when pressed between your fingers.
If the crust feels too dry, add one more tablespoon of melted butter. If it feels too greasy, add a few extra crumbs.
Step 3: Press the Crust into the Pan
Transfer the crumb mixture into the prepared pan.
Press it firmly into an even layer using the back of a spoon, a measuring cup, or the bottom of a glass.
Make sure the crust is packed tightly. A loose crust can fall apart when the bars are sliced.
Place the pan in the refrigerator for at least 20 minutes while you prepare the filling.
Please Head On keep on Reading (>)





No Responses Yet