
Step 4: Shape Into Balls
Line a baking sheet with parchment or wax paper.
Scoop about 1 tablespoon of the mixture and roll into smooth balls.
Place them neatly onto the prepared sheet.
You should get around 20–24 balls, depending on your preferred size.
Optional: Chill for 10 minutes to make dipping easier.
Step 5: Dip in Melted Chocolate
Melt the chocolate chips or wafers in the microwave in 30-second intervals, stirring between each until smooth.
Dip each peanut butter ball into the melted chocolate using a fork.
Tap gently to remove excess chocolate and place back on the lined tray.
Tip: For extra flair, drizzle leftover chocolate on top or sprinkle with crushed Butterfinger.
Step 6: Chill and Set
Refrigerate for at least 20–25 minutes or until the chocolate coating has fully hardened.
Once firm, transfer the finished butterfinger balls to an airtight container.
🍫 Serving Ideas
- Add to a holiday cookie tray
- Serve with coffee or hot chocolate
- Use as edible gifts wrapped in mini candy cups
- Freeze and enjoy as a cold treat
❄️ Storage Tips
- Refrigerator: 2 weeks in an airtight container
- Freezer: up to 3 months — thaw for 10 minutes before serving
🎉 Final Thoughts
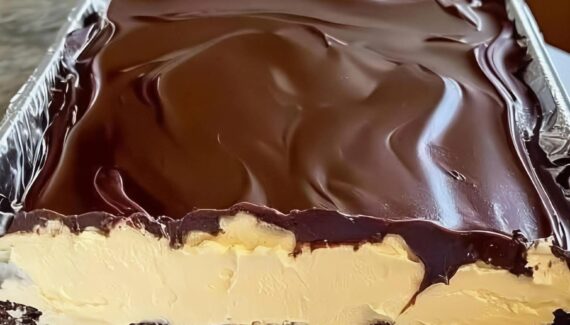
With their rich peanut butter center, crispy Butterfinger mix-ins, and a smooth chocolate shell, Butterfinger Balls bring together everything you love about candy in one quick, no-bake recipe. They’re simple enough for beginners, fun to make with kids, and impressive enough for special occasions.
Once you try these, you’ll find yourself making them again and again—they’re just that good.
Would you like a printable version, nutrition info, or variations like white chocolate, crunchy peanut butter, or almond butter versions?


No Responses Yet