
Step 3: Combine Dry Ingredients
In a separate bowl, whisk together flour, baking soda, and salt. Gradually add this dry mixture to the wet ingredients, mixing just until combined. Avoid overmixing to keep your bars soft and chewy.
Step 4: Assemble the Layers
Press two-thirds of the dough evenly into the prepared baking pan to form the base layer. Sprinkle chocolate chips, caramel bits, and nuts evenly over this layer. Finally, crumble the remaining dough on top, creating a rustic, textured finish.
Step 5: Bake to Perfection
Place the pan in the preheated oven and bake for 30-35 minutes, or until the top is lightly golden. The bars should still feel slightly soft in the center—this is key to that signature gooey texture.
Step 6: Cool and Cut
Allow the bars to cool in the pan for 15-20 minutes before lifting them out using the parchment paper. Cutting them too soon can make them fall apart. Once cooled, slice into squares or rectangles.
Step 7: Serve and Enjoy
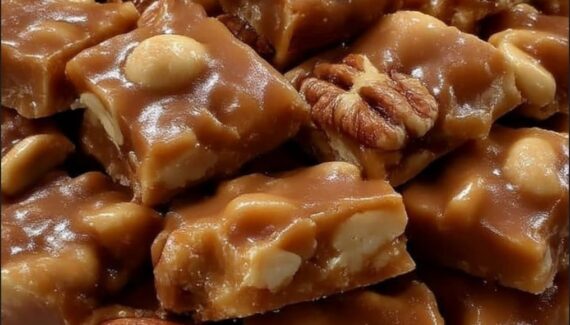
Serve the Chewy Gooey Bars as a sweet snack with a glass of milk, a cup of coffee, or even on their own. The combination of chewy dough and gooey chocolate-caramel layers creates a dessert that’s irresistible.
Pro Tips for Extra Gooey Bars
- Brown Butter: For a deeper, nuttier flavor, try browning your butter before mixing.
- Mix-ins: Customize with white chocolate chips, peanut butter chips, or dried fruit.
- Storage: Keep in an airtight container at room temperature for up to 5 days or freeze for longer storage.
These Chewy Gooey Bars strike the perfect balance between soft, chewy, and decadently sweet. They’re perfect for potlucks, birthdays, or just a weekend indulgence. Once you try them, you’ll see why they’re a dessert favorite that never goes out of style.
If you want, I can also create a simplified, visual step-by-step version with tips for making these bars extra soft and gooey—it’s perfect if you want a quick reference while baking.
Do you want me to make that version too?


No Responses Yet