
Once the chocolate mixture is melted and smooth, stir in the vanilla extract and a pinch of salt. This enhances the flavor and balances the sweetness.
4. Mix in the Rice Krispies
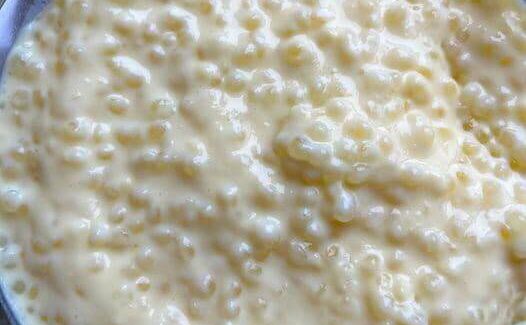
Gently fold the Rice Krispies into the chocolate mixture. Use a spatula to ensure every piece is coated, but avoid smashing the cereal to keep it crispy. The mixture should be sticky but manageable.
5. Shape the Balls
Using your hands or a small cookie scoop, take portions of the mixture and roll them into balls about 1 to 1.5 inches in diameter. If the mixture sticks too much, lightly wet your hands or rub a little butter on them.
6. Add Optional Toppings
Roll the balls in your choice of toppings: shredded coconut, cocoa powder, or crushed nuts. This step is optional but adds texture and visual appeal.
7. Chill and Set
Place the balls on the prepared baking sheet and refrigerate for at least 30 minutes, or until firm. Chilling helps them hold their shape and makes them easier to handle.
8. Serve and Store
Once set, your Chocolate Rice Krispie Balls are ready to enjoy! Store leftovers in an airtight container in the refrigerator for up to a week, or freeze for longer storage. They also make excellent grab-and-go snacks or a sweet addition to lunchboxes.
Tips for Perfect Chocolate Rice Krispie Balls
- Customize the flavor: Add a teaspoon of espresso powder for a mocha twist, or sprinkle a bit of sea salt on top for a sweet-salty combo.
- Make them festive: Use colored sprinkles or crushed peppermint for holidays.
- Keep them chewy or crunchy: For extra chewiness, add a few tablespoons of marshmallow fluff to the melted chocolate mixture.
Chocolate Rice Krispie Balls are a simple, versatile treat that satisfies chocolate cravings and crunchy cravings all at once. They’re easy to make, fun to decorate, and a guaranteed hit for all ages. Give this recipe a try, and you might find yourself making them week after week!
If you want, I can also make a visual step-by-step version with images so you can follow it more easily while cooking. It would look like a mini recipe guide. Do you want me to do that?


No Responses Yet