
Step 3: Prepare the Cherry Filling
- In a medium saucepan, combine the chopped cherries, sugar, and cornstarch.
- Cook over medium heat, stirring frequently, until the mixture thickens and becomes glossy (about 5–7 minutes).
- Remove from heat and stir in the vanilla extract. Allow it to cool slightly before spreading over the baked crust.
Step 4: Assemble the Bars
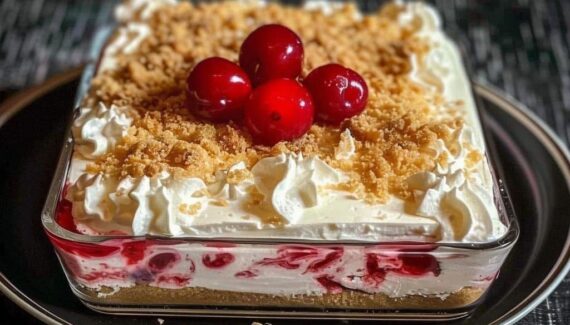
- Spread the cherry mixture evenly over the cooled shortbread crust.
- For an added festive touch, you can sprinkle slivered almonds or drizzle with melted white chocolate on top.
- Lightly sprinkle the top with a little granulated sugar for extra sparkle and sweetness.
Step 5: Chill and Set
Place the pan in the refrigerator for at least 2 hours to allow the cherry layer to set properly. This ensures the bars hold their shape when cut.
Step 6: Cut and Serve
- Using the parchment overhang, lift the bars out of the pan.
- Cut into squares or rectangles using a sharp knife.
- Serve on a festive platter and enjoy the perfect balance of buttery crust and fruity cherry goodness.
Tips for Perfect Christmas Cherry Bars
- Drain cherries well: Excess liquid can make the bars soggy.
- Even crust thickness: Press the dough firmly into the pan to prevent cracking.
- Storage: Store in an airtight container in the refrigerator for up to a week, or freeze for longer storage.
Why You’ll Love Them:
Christmas Cherry Bars are colorful, sweet, and slightly tart—the perfect combination to brighten holiday gatherings. They’re simple enough to make with kids, yet elegant enough to impress guests. With a buttery base, juicy cherry filling, and optional festive topping, these bars truly capture the spirit of the season in every bite.
If you want, I can also create a step-by-step visual guide for these bars so each stage is illustrated like a mini baking tutorial. This makes it much easier to follow for first-time bakers. Do you want me to do that?


No Responses Yet