
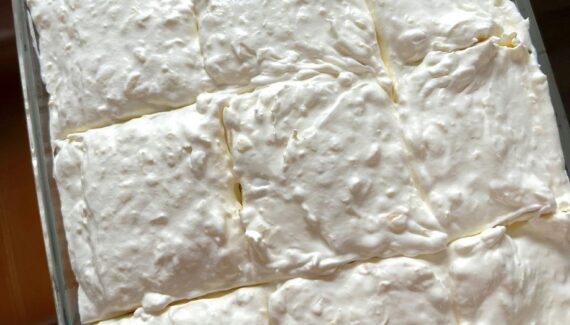
Step 2: Mix the Cheese Base
- In a large mixing bowl, combine the softened cream cheese and shredded cheddar cheese. Use a hand mixer or sturdy spoon to blend until smooth and creamy.
- Add the chopped cranberries, green onions, garlic powder, onion powder, salt, and black pepper. Mix thoroughly until all ingredients are evenly distributed.
Step 3: Shape the Cheese Ball
- Place a piece of plastic wrap on your countertop.
- Scoop the cheese mixture onto the plastic wrap and shape it into a ball (or a slightly flattened sphere, if you prefer).
- Wrap it tightly in the plastic wrap and chill in the refrigerator for at least 1–2 hours. Chilling helps the cheese ball firm up, making it easier to coat.
Step 4: Coat the Cheese Ball
- Spread the chopped pecans (and optional cranberries) on a plate or shallow dish.
- Remove the cheese ball from the refrigerator and unwrap it.
- Roll the cheese ball gently in the pecan mixture, pressing lightly to ensure the nuts stick evenly.
- For a festive touch, sprinkle additional whole pecans or cranberries on top.
Step 5: Serve and Enjoy
- Place the cheese ball on a serving platter. Surround it with crackers, bread slices, or fresh vegetables.
- Garnish with fresh herbs like parsley or rosemary for a holiday-ready presentation.
- Allow it to sit at room temperature for 10–15 minutes before serving for optimal flavor and spreadability.
Tips for Success
- Make Ahead: Cheese balls can be made up to 2 days in advance. Just keep it tightly wrapped in the refrigerator until serving.
- Flavor Variations: Try adding chopped dried apricots, a dash of smoked paprika, or even a little honey to give your cheese ball a unique twist.
- Nut Alternatives: If pecans aren’t available, almonds or walnuts work beautifully.
Final Thoughts
The Cranberry Pecan Cheese Ball is more than just an appetizer; it’s a showstopper. Its creamy texture, fruity sweetness, and nutty crunch make it perfect for holiday tables, parties, or casual gatherings. With just a few simple ingredients and easy steps, you can create a dish that will impress your guests and have them coming back for more.
If you want, I can also make a step-by-step illustrated version showing exactly how it should look at each stage—almost like a mini recipe photo guide. That usually makes it much easier to follow.
Do you want me to create that version?


No Responses Yet