
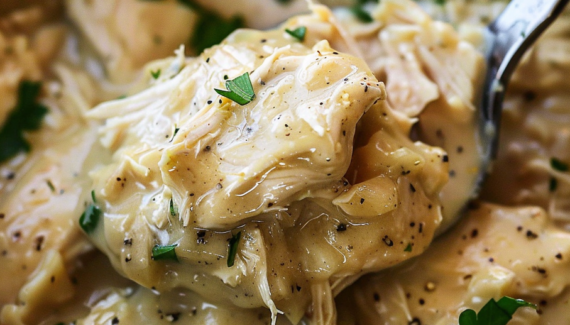
Summer squash is one of those simple ingredients that transforms beautifully when it’s fried. Its mild sweetness, soft interior, and ability to absorb seasoning make it perfect for a crispy, golden coating. Crispy Fried Summer Squash is a comforting side dish that tastes like something between fried zucchini and southern-style fritters—crunchy outside, soft and flavorful inside.
Below is a detailed step-by-step guide to making it perfectly crispy every time.
Crispy Fried Summer Squash (Step-by-Step Recipe)
Ingredients You Will Need
To make a classic crispy fried version, gather:
- 2 medium summer squash (yellow squash works best)
- 1 cup all-purpose flour
- 1/2 cup cornmeal (for extra crunch)
- 2 eggs
- 1/3 cup milk or buttermilk
- 1 teaspoon salt
- 1/2 teaspoon black pepper
- 1/2 teaspoon garlic powder (optional)
- 1/2 teaspoon paprika (optional, for color and flavor)
- Vegetable oil (for frying)
Optional add-ins:
- Parmesan cheese (for extra savory taste)
- Cayenne pepper (for heat)
- Fresh herbs like parsley or dill
Step 1: Prepare the Squash
Wash the summer squash thoroughly and pat it dry.
Then:
- Slice it into thin rounds (about 1/4 inch thick)
- If slices are too thick, they won’t crisp properly
- If too thin, they may burn quickly
Tip: Uniform slices = even frying.
Step 2: Remove Excess Moisture
This step is important for crispiness.
- Place sliced squash on a paper towel
- Lightly sprinkle with salt
- Let sit for 10–15 minutes
- Pat dry again
This draws out excess water so the coating sticks better and fries crisp instead of soggy.
Step 3: Prepare the Breading Stations
Set up three bowls:
Bowl 1 – Dry Mix
- Flour
- Cornmeal
- Salt
- Pepper
- Garlic powder
- Paprika
Bowl 2 – Wet Mix
- Eggs
- Milk (or buttermilk)
- Whisk until smooth
Bowl 3 – Final coating station (optional extra crunch)
- Leftover flour mixture or extra cornmeal
Please Head On keep on Reading (>)


No Responses Yet