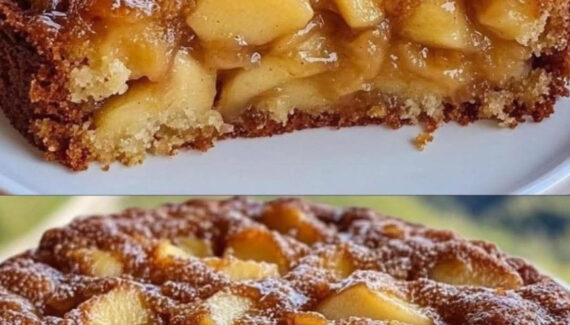
Delicious Cherry Pie Bars: A Crowd-Pleasing Birthday Treat
Cherry pie bars take everything you love about a classic pie — buttery crust, bright-tart cherries, and just the right amount of sweetness — and make it portable, easy to slice, and perfect for feeding a party. Below is a detailed, original recipe and step-by-step method to make about 24 generous bars (9×13-inch pan). I’ll also include tips, variations, and storage notes so they come out perfect for a birthday celebration.
Why these bars work
The recipe balances a crisp, slightly crumbly shortbread base and topping with a thick, glossy cherry filling. The base gives structure and buttery flavor; the filling is tangy and bright, so the bars never taste cloying. They’re easy to slice, travel well, and are a great make-ahead party dessert.
Yield & timing
- Makes: about 24 bars (9×13-inch pan)
- Active prep: ~40–50 minutes
- Bake time: 35–45 minutes
- Total time: ~1 hr 30 min (including cooling)
Ingredients
For the crust & crumb topping
- 2 ½ cups (320 g) all-purpose flour
- 1 cup (200 g) granulated sugar
- 1 tsp fine sea salt
- 1 tsp baking powder
- 1 ½ cups (340 g) unsalted butter, cold and cut into cubes
- 1 large egg
- 1 tsp vanilla extract
- Optional: ½ tsp almond extract (if you like almond + cherry)
For the cherry filling
- 4 cups fresh or frozen pitted cherries OR 2 (21 oz) cans cherry pie filling (see note below)
- ¾ cup (150 g) granulated sugar (adjust if your cherries are very sweet)
- 3 Tbsp cornstarch
- 1 Tbsp lemon juice (fresh)
- 1 tsp vanilla extract
- Pinch of salt
- Zest of ½ lemon (optional, for brightness)
Finishing
- 2 Tbsp coarse sugar (for sprinkling, optional)
- Icing (optional): ½ cup powdered sugar + 1–2 tsp milk or lemon juice, whisked to drizzle
Tools
- 9×13-inch baking pan (lined with parchment for easy removal)
- Mixing bowls, pastry cutter or food processor (or two forks)
- Saucepan (if making filling from fresh cherries)
- Measuring cups & spoons, rubber spatula, wire rack
Step-by-step method
1. Prep the pan and oven
Preheat oven to 350°F (175°C). Line a 9×13-inch pan with parchment paper, leaving a 1–2 inch overhang on two sides so you can lift the bars out cleanly. Lightly grease the bottom with butter or nonstick spray.
2. Make the crust / crumb dough
- In a large bowl whisk together flour, sugar, salt, and baking powder.
- Add cold cubed butter. Using a pastry cutter or your fingers (or pulse in a food processor), cut the butter into the dry ingredients until the mixture resembles coarse crumbs — pea-sized pieces should remain.
- Whisk the egg with vanilla (and almond extract if using), then add it to the crumb mixture. Use a spatula to bring the dough together. It will be crumbly but should hold when pressed. If it’s too dry, add 1 tsp cold water at a time until it just comes together.
Tip: Reserve about 1¾–2 cups of the crumb mixture for the topping; press the rest firmly into the prepared pan to form the base.
3. Par-bake the base
Press the dough evenly into the bottom of the pan (use the bottom of a measuring cup to compact it). Bake for 12–15 minutes, until the edges are set and just beginning to turn golden. Remove from oven and set aside while you make the filling.
4. Make the cherry filling (fresh/frozen cherries method)
If you’re using canned cherry pie filling, skip to step 4a.
- In a medium saucepan combine cherries, sugar, cornstarch, lemon juice, lemon zest, salt, and vanilla. If using frozen cherries, do not thaw beforehand — they’ll release juice as they heat.
- Cook over medium heat, stirring frequently, until the mixture comes to a simmer and thickens — 5–8 minutes. The cornstarch will turn the mixture glossy and pudding-like. Taste and add more sugar if cherries are very tart.
- Remove from heat and let cool slightly (5–10 minutes). This prevents the bottom crust from sogging when you spread the filling.


No Responses Yet