Step 4: Knead the Dough
- Turn the dough out onto a floured surface.
- Start kneading the dough by folding it in half, pressing it down, and then turning it 90 degrees.
- Knead for about 8-10 minutes, adding a little flour if the dough becomes too sticky. The dough should become smooth, elastic, and slightly tacky.
💡 Tip: If you have a stand mixer with a dough hook, you can use it to knead the dough on low speed for about 5-7 minutes.
Step 5: First Rise (Proofing)
- Grease a large bowl with a bit of olive oil or butter.
- Place your kneaded dough into the bowl, turning it once to coat it in the oil.
- Cover the bowl with a clean kitchen towel or plastic wrap and set it in a warm place to rise.
- Let the dough rise for about 1 to 1.5 hours or until it has doubled in size.
💡 Tip: A warm, draft-free area (like the oven with the light on) is ideal for proofing your dough.
Step 6: Shape the Dough
- Once the dough has risen, punch it down gently to release any air bubbles.
- Turn it out onto a floured surface and shape it into a loaf. To do this, fold the edges toward the center and roll it up tightly.
- Pinch the seam closed and place the shaped dough into a greased 9×5-inch loaf pan.
Step 7: Second Rise
- Cover the pan with the kitchen towel or plastic wrap and let it rest for 30-45 minutes, or until the dough has risen slightly above the edge of the pan.
- During this time, preheat your oven to 350°F (175°C).
Step 8: Bake the Bread
- Once the dough has completed its second rise, place the loaf pan in the preheated oven.
- Bake for 25-30 minutes, or until the top is golden brown and the loaf sounds hollow when tapped on the bottom.
- You can also check the internal temperature with a kitchen thermometer—when it reads 190°F (88°C), the bread is done.
💡 Tip: If the bread begins to brown too quickly, cover it loosely with aluminum foil and continue baking.
Step 9: Cool the Bread
- Once baked, remove the bread from the oven and let it cool in the pan for 5 minutes.
- Then, transfer the loaf to a wire rack to cool completely. Don’t slice it while it’s hot, as the texture can be too gummy. Let it cool for at least 30 minutes before slicing.
🍽️ Serving and Storing
- Slice and serve this easy homemade white bread with your favorite toppings, whether it’s butter, jam, or cheese. It’s perfect for sandwiches, French toast, or as an accompaniment to any meal.
- Store your bread in a plastic bag or airtight container at room temperature for up to 3 days. For longer storage, you can slice and freeze it for up to 1-2 months.
🎉 Final Thoughts
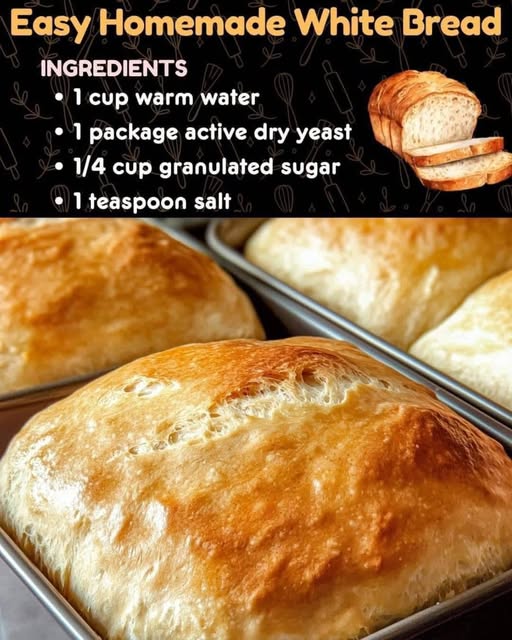
Making bread at home doesn’t have to be intimidating. With just a few basic ingredients and a bit of patience, you can bake your own soft, fluffy white bread in the comfort of your kitchen. This recipe is straightforward and great for beginners, ensuring you get delicious results every time.
Give this easy homemade white bread recipe a try and enjoy the warmth and satisfaction of homemade bread in no time!
Happy baking! 🍞💖


No Responses Yet