
Step 5: Add Apples
Gently fold in the chopped apples. These juicy bites create pockets of flavor and keep the loaf moist.
Step 6: Prepare the Cinnamon Swirl
In a small bowl, combine brown sugar, cinnamon, and flour. This mixture will create the signature swirl.
Step 7: Layer and Swirl
Pour half of the batter into the prepared loaf pan. Sprinkle half of the cinnamon swirl mixture evenly over the top. Add the remaining batter and finish with the remaining swirl mixture. Use a knife or skewer to gently swirl the cinnamon mixture through the batter, creating beautiful layers without overmixing.
Step 8: Bake to Perfection
Bake in the preheated oven for 50–60 minutes, or until a toothpick inserted into the center comes out clean. The loaf should be golden brown on top with a sweet, spicy aroma filling your kitchen.
Step 9: Cool and Optional Glaze
Allow the loaf to cool in the pan for about 10 minutes, then transfer to a wire rack. For extra sweetness, whisk together powdered sugar, milk, and vanilla to make a simple glaze and drizzle over the cooled loaf.
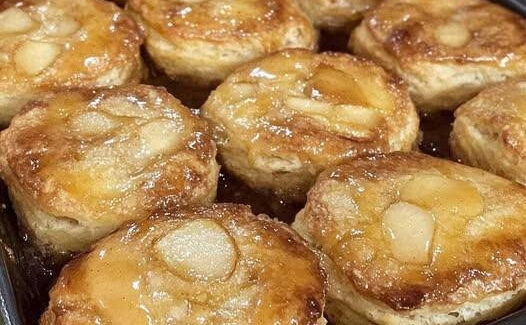
Step 10: Slice and Serve
Once fully cooled (or slightly warm if you prefer), slice your Apple Cinnamon Swirl Loaf. Each bite should reveal tender apples, soft cake, and cinnamon sugar swirls—pure autumn magic! Pair it with a cup of tea, coffee, or hot apple cider for the ultimate cozy experience.
Tips for the Perfect Loaf
- Choose crisp, sweet-tart apples like Honeycrisp or Fuji—they hold their texture better during baking.
- Don’t over-swirl—a few elegant twists create beautiful marbling without blending the cinnamon mixture completely.
- Make ahead: This loaf stays moist for 2–3 days at room temperature or can be frozen for up to a month.
Whether it’s a chilly morning or a relaxing afternoon, this Homemade Apple Cinnamon Swirl Loaf is a slice of autumn comfort in every bite. Baking it fills your home with the scent of cinnamon and apples, and slicing it unveils the cozy layers that make fall truly special.
If you want, I can also create a version with step-by-step images for each stage, so it’s visually irresistible and easy to follow. It would look like a mini baking guide. Do you want me to do that?


No Responses Yet