- Reduce the Milk
- Once the mixture starts to simmer, reduce the heat to low.
- Let the milk cook gently, stirring occasionally to prevent it from sticking to the bottom of the pan.
- Over time, the milk will thicken and reduce as the water content evaporates. This process typically takes about 20–25 minutes.
- Monitor the Consistency
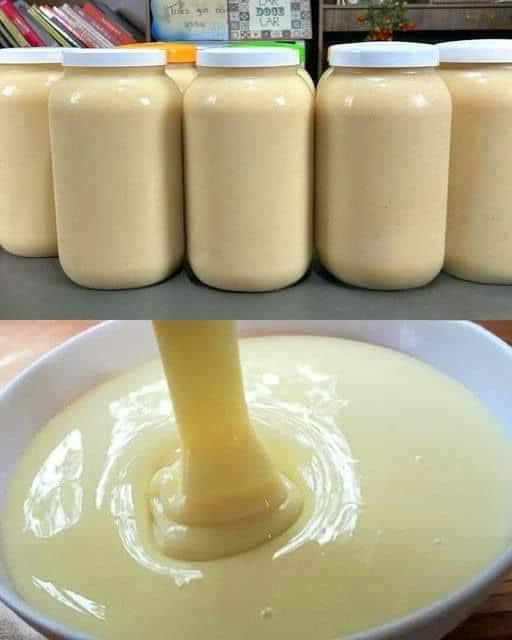
- The goal is to achieve a creamy, thick consistency resembling traditional condensed milk.
- To test, use the back of a spoon—if it coats the spoon without running off too quickly, it’s ready.
- Cool Down and Store
- Remove the saucepan from heat and allow the mixture to cool slightly.
- Pour the condensed milk into a clean, airtight container or jar.
- It will thicken further as it cools.
Storage Tips
- Store your sugar-free condensed milk in the refrigerator for up to 7–10 days.
- Stir gently before use, as slight separation may occur over time.
How to Use Sugar-Free Condensed Milk
This versatile ingredient can be used in a variety of recipes:
- Stir into coffee or tea for a creamy, sweet touch.
- Use it in baking to make sugar-free desserts like fudge, cheesecakes, or cookies.
- Drizzle over fruits or pancakes for a guilt-free treat.
Why Make It at Home?
Homemade sugar-free condensed milk is:
- Healthier: You control the ingredients, avoiding unnecessary additives and sugars.
- Customizable: Adjust sweetness levels or use your favorite milk type.
- Cost-Effective: Making it at home is often cheaper than buying store-bought sugar-free versions.
With just three ingredients and a little time, you can create a delicious and healthier alternative to traditional condensed milk. Give it a try—you’ll be amazed at how easy and satisfying it is to make your own! 🥛✨


No Responses Yet