
Step 5: Cook Until Thickened
Continue cooking the pudding on low heat, stirring constantly. The mixture will begin to thicken into a custard-like consistency.
This step usually takes about 5–10 minutes. The pudding is ready when it coats the back of a spoon and the pearls are fully translucent.
Step 6: Add Flavor
Remove the saucepan from heat and stir in the vanilla extract. This adds warmth and depth to the flavor.
Step 7: Cool and Serve
You can serve the pudding warm right away, or let it cool to room temperature and refrigerate for a chilled version.
For best results:
- Stir occasionally while cooling to prevent a skin from forming
- Cover with plastic wrap directly on the surface if refrigerating
Tips for Perfect Tapioca Pudding
- Use small pearls for a classic texture; large pearls require longer cooking
- Stir constantly to avoid clumps or sticking
- Don’t rush the cooking process—low and slow gives the best creamy result
- Adjust sweetness to your taste by adding more or less sugar
Serving Ideas
- Sprinkle with cinnamon or nutmeg
- Top with fresh berries or sliced bananas
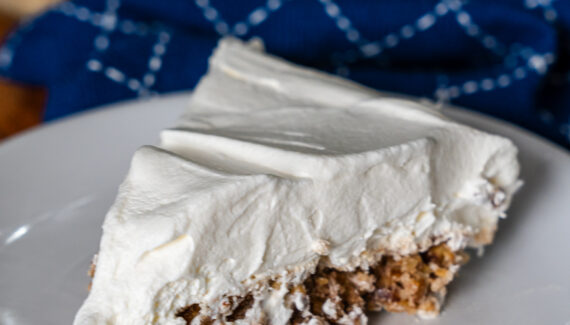
- Add a dollop of whipped cream for extra indulgence
Final Thoughts
Homemade tapioca pudding is proof that simple ingredients can create something truly special. With its creamy base and soft pearls, it strikes the perfect balance between comfort and elegance. Once you try making it from scratch, it’s hard to go back to anything else.
If you want, I can also show you a quicker 10-minute version or a dairy-free alternative.


No Responses Yet