
2. Poke the Cake
- Using the handle of a wooden spoon or a similar tool, poke holes all over the surface of the cake.
- Space the holes about 1 inch apart to ensure every bite has filling.
3. Prepare and Pour the Lime Filling
- In a medium bowl, whisk together sweetened condensed milk, key lime juice, and lime zest until smooth.
- Slowly pour the mixture over the cake, making sure it seeps into the holes.
- Use a spatula to gently spread any remaining mixture over the cake surface.
4. Chill and Set
- Cover the cake with plastic wrap.
- Refrigerate for at least 2–3 hours, or until the filling is fully absorbed and the cake is cool.
- Chilling enhances the lime flavor and ensures a creamy texture.
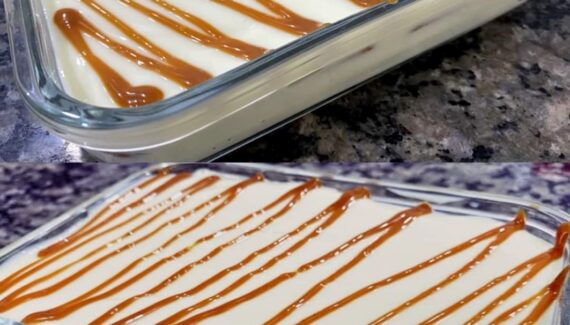
5. Add the Whipped Topping
- Spread the thawed whipped topping evenly over the chilled cake.
- Garnish with extra lime zest or thin slices of lime for a fresh, decorative touch.
6. Serve and Enjoy
- Slice the cake into squares and serve chilled.
- Each bite delivers a perfect balance of tangy key lime, sweet condensed milk, and moist cake, making it a refreshing dessert for warm days or festive occasions.
Tips for the Perfect Key Lime Poke Cake
- Use fresh key lime juice if possible — it gives a brighter, more authentic flavor.
- Don’t skip the chilling: the cake tastes best when the flavors have melded together.
- Optional toppings: crushed graham crackers sprinkled on top can add a subtle crunch reminiscent of classic key lime pie.
This Key Lime Poke Cake is a simple yet impressive dessert. Its moist, tangy layers make it ideal for family gatherings, potlucks, or anytime you crave a tropical, creamy treat. Once you try it, it may quickly become your go-to summer dessert!
If you want, I can also make a shortcut version that uses just 5 ingredients but still tastes like a full Key Lime Poke Cake — perfect for quick baking sessions. Do you want me to do that?


No Responses Yet