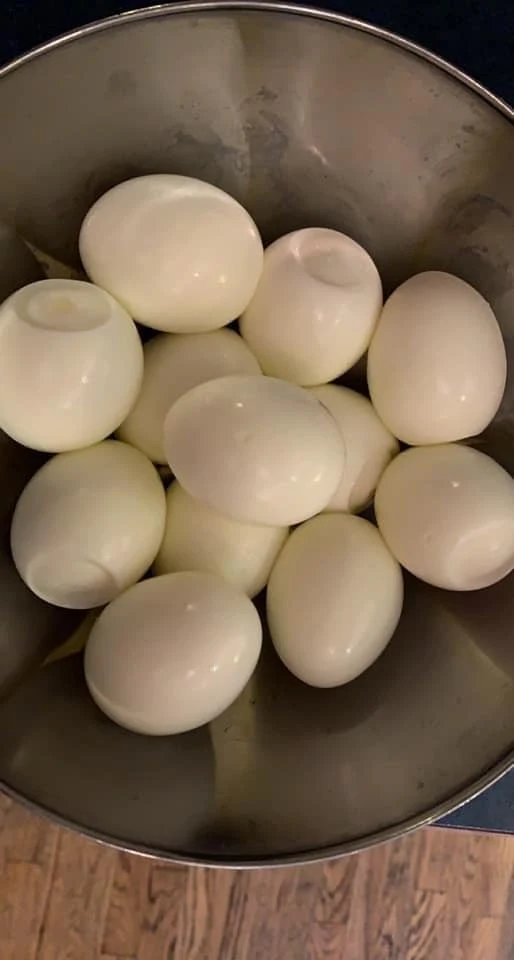
Mastering the Art of Perfectly Peeled Hard-Boiled Eggs
Hard-boiled eggs are a versatile, nutritious snack and a staple in many recipes. However, peeling them can sometimes be a frustrating task, especially when the shell sticks to the egg white, leaving a pockmarked surface. Achieving perfectly peeled hard-boiled eggs requires a combination of proper cooking, cooling, and peeling techniques. Follow this step-by-step guide to master the art of peeling hard-boiled eggs effortlessly.
Ingredients and Tools Needed:
- Fresh eggs (older eggs tend to peel easier)
- Water
- Ice cubes
- Large saucepan or pot with a lid
- Slotted spoon or tongs
- Bowl for the ice bath
Step-by-Step Instructions
Step 1: Select Your Eggs
- Choose slightly older eggs: Fresh eggs have a lower pH in their whites, causing them to adhere more tightly to the shell’s inner membrane. Eggs that are a few days old tend to peel more easily because the whites become less acidic and separate from the shell more readily.
Step 2: Prepare the Water
- Bring water to a boil: Fill a large saucepan or pot with enough water to completely submerge the eggs. Place the pot on the stove over high heat and bring the water to a rolling boil. Adding a teaspoon of salt or a splash of vinegar can help prevent cracking and make peeling easier.
Step 3: Cook the Eggs
- Lower the eggs into the boiling water: Use a slotted spoon or tongs to gently lower the eggs into the boiling water. Avoid dropping them in, as this can cause cracks.
- Adjust the heat: Once the eggs are in the water, reduce the heat to maintain a gentle simmer. Boiling the eggs too vigorously can cause the shells to crack.
- Set a timer: Cook the eggs for 9-12 minutes, depending on your preference:
- 9 minutes: Slightly softer yolks, ideal for salads.
- 12 minutes: Fully firm yolks, perfect for deviled eggs or snacks.
Please Head On keep on Reading (>) for the FULL ARTICLE:


No Responses Yet