
Step 3: Mix in the Crunch
- Place the 3 cups crispy rice cereal in a large mixing bowl.
- Pour the warm peanut butter mixture over the cereal.
- Use a spatula to gently fold the cereal into the mixture until every piece is coated evenly.
Step 4: Press Into the Pan
- Transfer the mixture into your prepared pan.
- Press down firmly using the back of a spatula or your hands (lightly greased) to create an even, compact layer.
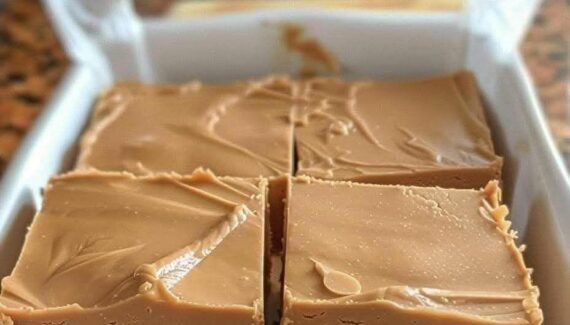
Step 5: Add the Chocolate Layer
- In a microwave-safe bowl, melt 1 1/2 cups chocolate chips in 30-second intervals, stirring after each, until smooth.
- Pour the melted chocolate over the pressed cereal layer.
- Using a spoon, drizzle the remaining 1/4 cup peanut butter over the chocolate and use a toothpick or knife to create a swirl pattern.
Step 6: Chill and Set
Place the pan in the refrigerator for at least 1 hour, or until the chocolate is firm. For quicker results, pop it in the freezer for 20-30 minutes.
Step 7: Slice and Serve
- Lift the bars out of the pan using the parchment paper edges.
- Cut into squares or rectangles using a sharp knife (warm the knife slightly for cleaner cuts).
- Serve immediately or store in an airtight container in the fridge for up to a week.
Tips for the Perfect Crunch Bars
- For extra flavor, sprinkle a tiny pinch of sea salt on top of the chocolate layer.
- Substitute peanut butter with almond or cashew butter for a nutty twist.
- Add mini marshmallows for a soft, chewy texture in the crunch bars.
These No-Bake Chocolate Peanut Butter Crunch Bars are more than just a snack—they’re a celebration of flavors and textures. The creamy peanut butter, crunchy cereal, and smooth chocolate combine to create a bar that’s irresistible. Whether you’re new to no-bake treats or a dessert enthusiast, this recipe is simple, fast, and utterly addictive.
If you want, I can also create a step-by-step visual guide with images for this recipe so it’s even easier to follow. It would look like a mini dessert tutorial! Do you want me to do that?


No Responses Yet