
Step 2: Mix the Dry Ingredients
- In a large mixing bowl, sift together flour, baking soda, salt, cinnamon, and nutmeg.
- Stir until evenly combined. This ensures the cake will rise evenly and the spices distribute nicely.
Step 3: Combine Wet Ingredients
- In a separate bowl, whisk together sugar, oil, water, vanilla extract, and vinegar.
- The vinegar reacts with the baking soda to give the cake a light, airy texture—no eggs needed!
Step 4: Make the Batter
- Gradually pour the wet ingredients into the dry ingredients, stirring gently until smooth and well combined.
- If you’re adding raisins, nuts, or coconut, fold them in at this stage.
Step 5: Bake the Cake
- Pour the batter into your prepared pan and smooth the top with a spatula.
- Bake for 30–35 minutes, or until a toothpick inserted into the center comes out clean.
- Avoid opening the oven too early to ensure it rises evenly.
Step 6: Cool and Serve
- Allow the cake to cool in the pan for 10 minutes, then transfer to a wire rack to cool completely.
- Slice into squares or rectangles.
Serving Suggestions: Dust with powdered sugar, drizzle with a simple glaze (1 cup powdered sugar + 2 tsp water or milk), or enjoy plain with tea or coffee for an authentic experience.
Tips for Success
- Moisture Matters: If the cake seems dry, adding a splash of water or orange juice to the batter can help.
- Spice Variations: Experiment with allspice, cloves, or even a bit of cocoa for a richer flavor.
- Storage: This cake keeps well at room temperature for 2–3 days or in the fridge for up to a week. It also freezes beautifully.
Why It’s Special
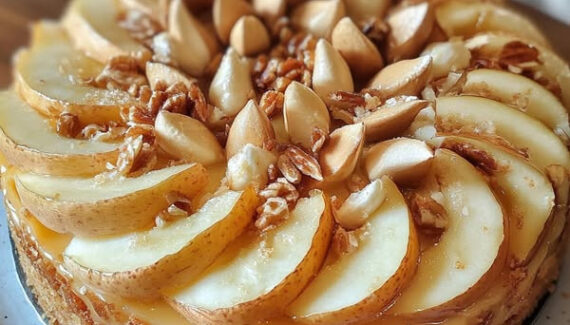
The War-Time Cake is more than just a dessert—it’s a story baked into each bite. Using minimal ingredients, it demonstrates resourcefulness and comfort, proving that even in tough times, a homemade treat can bring joy. Its lightly spiced, moist texture makes it a favorite for generations and a perfect example of old-fashioned baking ingenuity.
If you want, I can also create a version of this recipe with step-by-step photos, almost like a mini cooking guide, which would make it even easier to follow.
Do you want me to do that?


No Responses Yet