
Step 5: Alternate Dry Ingredients & Milk
Here’s a little trick for the best texture: alternate adding the dry ingredients and milk to the butter mixture. Start with a portion of the dry ingredients, mix until just combined, then add some milk. Repeat until everything is incorporated. Avoid overmixing, or the result may be dense.
Step 6: Fold in the Fun Stuff
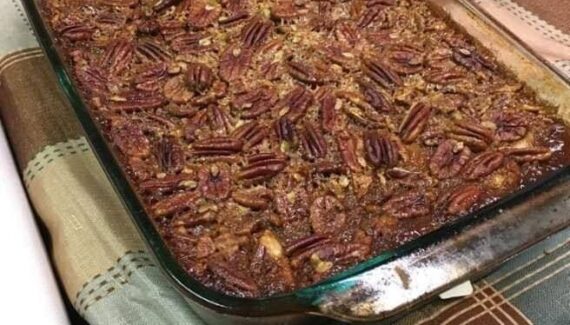
Gently fold in your chosen mix-ins. Chocolate chips, nuts, or fruit work beautifully. Grandma recommends a combination for that “just too good to stop” effect. This is where the magic happens—each bite will have little pockets of delicious surprises.
Step 7: Bake to Perfection
Pour the batter into your prepared pan. Bake in the preheated oven for 30-40 minutes, or until a toothpick inserted in the center comes out clean. Keep an eye on it; the edges should be golden brown, while the center remains soft and inviting.
Step 8: Cool & Serve
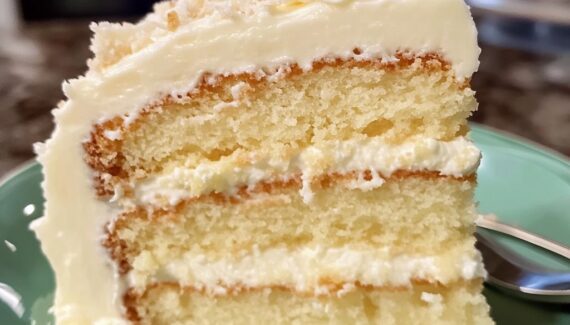
Allow the dish to cool for 10-15 minutes before cutting. This step ensures it holds its shape and makes serving easier. Once cooled, slice generously and watch as everyone goes back for seconds… and maybe thirds.
Tips from Grandma
- Don’t skimp on mix-ins. They add bursts of flavor and texture.
- Butter at room temperature is key for a light, airy batter.
- Serve warm. It’s irresistible straight out of the oven, but it also keeps well for the next day.
- Experiment! This recipe is a base—try different spices, extracts, or mix-ins for new flavor adventures.
Why This Recipe Is a Keeper
This dish combines simple ingredients, a straightforward method, and unbeatable flavor. The first bite is always the hardest… because after that, you’ll find yourself going back for more. It’s sweet, comforting, and versatile enough for any occasion. No wonder grandma called it a keeper!
If you want, I can also create a version with a visual step-by-step guide to make it even easier to follow and harder to resist.
Do you want me to do that?


No Responses Yet