Step-by-Step Instructions
Step 1: Prepare the Milk
- Heat the Milk: Pour the whole milk into a large, heavy-bottomed pot. Heat the milk over medium heat, stirring occasionally to prevent it from scorching. Bring the milk to a gentle simmer, but do not let it boil.
- Monitor the Temperature: If you have a kitchen thermometer, heat the milk to around 180°F (82°C). This is the ideal temperature for curdling the milk.
Step 2: Curdle the Milk
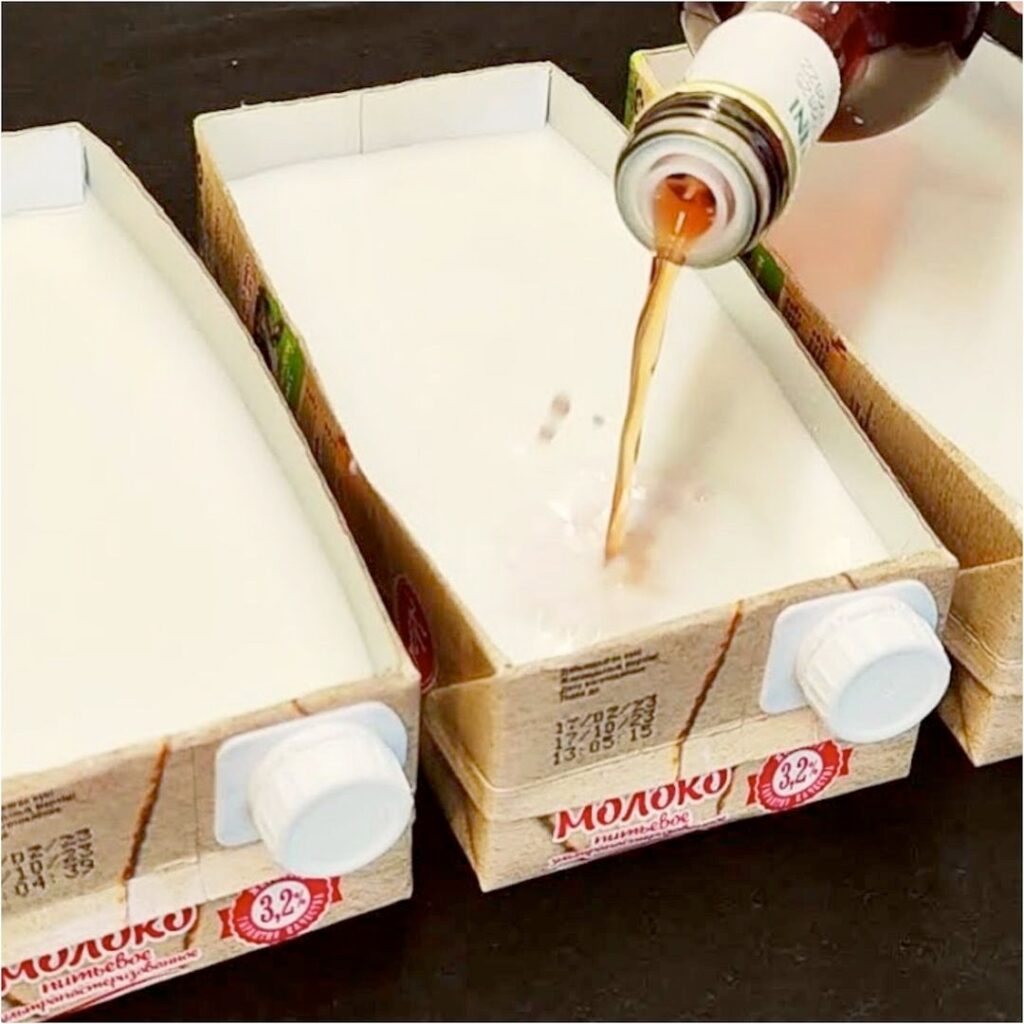
- Add the Acid: Once the milk reaches the desired temperature, slowly add the white vinegar or lemon juice while gently stirring the milk. You should begin to see curds forming almost immediately.
- Let it Sit: After adding the acid, remove the pot from the heat and let it sit undisturbed for about 5-10 minutes. The curds (solid) will separate from the whey (liquid), creating a beautiful mixture of creamy white curds.
Step 3: Strain the Curds
- Prepare a Strainer: Line a colander or fine-mesh strainer with a piece of cheesecloth or a clean kitchen towel. Place the strainer over a large bowl to catch the whey.
- Drain the Curds: Carefully pour the curdled milk into the prepared strainer, allowing the whey to drain out. Let the curds sit in the strainer for about 10-15 minutes, depending on how dry or moist you want your cheese.
- Optional: If you prefer a firmer cheese, gather the edges of the cheesecloth and twist it to squeeze out more whey. You can also place a weight on top of the wrapped curds to press out additional moisture.
Step 4: Season and Serve
- Season the Cheese: Once the curds have drained to your desired consistency, transfer them to a mixing bowl. Add salt to taste, and if you like, mix in herbs or spices for added flavor. Fresh herbs like chives, parsley, or dill work beautifully, as do spices like cracked black pepper or paprika.
- Shape the Cheese: You can shape the cheese into a ball or press it into a small mold for a more structured look. If you’re feeling rustic, simply serve it as is, crumbled or spreadable.
- Chill and Enjoy: While you can enjoy the cheese immediately, allowing it to chill in the refrigerator for an hour or so will enhance the flavor and texture. Serve it with crusty bread, crackers, or as a topping for salads and dishes.
Tips for Perfect Homemade Cheese
- Use Fresh Milk: The fresher the milk, the better the cheese will taste. Non-homogenized milk gives the best texture, but any whole milk will work.
- Experiment with Flavors: Don’t be afraid to experiment with different herbs, spices, or even garlic to create your unique cheese flavors.
- Save the Whey: Don’t throw away the whey! It’s packed with protein and can be used in smoothies, soups, or even baking.


No Responses Yet