
Step 5: Shape and Arrange
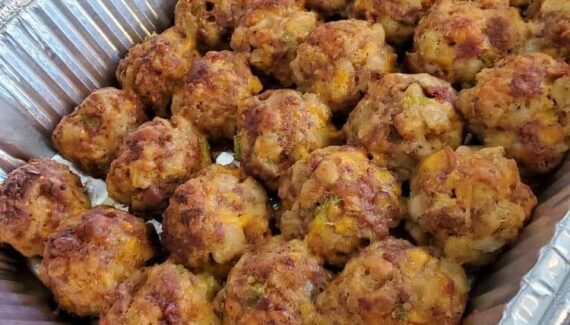
Preheat your oven to 375°F (190°C) and line a baking sheet with parchment paper. Using a spoon or cookie scoop, drop the batter onto the sheet, shaping them into small mounds about 2–3 inches wide. Leave some space between each fritter as they will expand slightly during baking.
Step 6: Bake to Golden Perfection
Bake in the preheated oven for 15–20 minutes, or until the fritters are golden brown and a toothpick inserted into the center comes out clean. The aroma of baked apples and warm spices will fill your kitchen—it’s irresistible!
Step 7: Prepare the Glaze
While the fritters are baking, mix the powdered sugar, milk, and vanilla extract in a small bowl until smooth. Adjust the milk for your desired glaze consistency. If you prefer a thicker glaze, add less milk; for a thinner drizzle, add more.
Step 8: Glaze and Serve
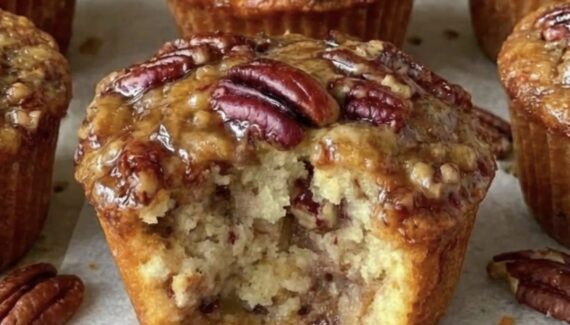
Once the fritters are slightly cooled, drizzle the glaze over the top. You can also dip each fritter into the glaze for extra sweetness. Serve warm for the best experience—the combination of tender apple bites, spiced batter, and sweet glaze is heavenly.
Tips for Perfect Baked Apple Fritters
- Choose firm apples: Softer varieties can turn mushy during baking. Granny Smith and Honeycrisp hold their shape best.
- Don’t overmix: A gentle fold preserves the light and fluffy texture.
- Try add-ins: Chopped nuts, raisins, or a pinch of ginger can add extra flavor and texture.
- Serve fresh: Fritters taste best the same day, though leftovers can be gently reheated in the oven to restore crispiness.
Baked apple fritters are a delightful treat that balances sweet, spiced apples with a soft, fluffy base, all without deep frying. They’re simple to make, crowd-pleasing, and perfect for any season. Whether you enjoy them for breakfast, an afternoon snack, or dessert, these fritters will quickly become a favorite in your kitchen.
If you want, I can also create a step-by-step visual guide for these fritters, showing exactly how each stage should look—it makes it super easy to follow even for first-time bakers. Do you want me to do that?


No Responses Yet