
Step 3: Add the Sweet Layers
Open the can of sweetened condensed milk and slowly drizzle it over the cake batter. Don’t worry about spreading it evenly—part of the “earthquake” effect is the natural sinking and blending during baking.
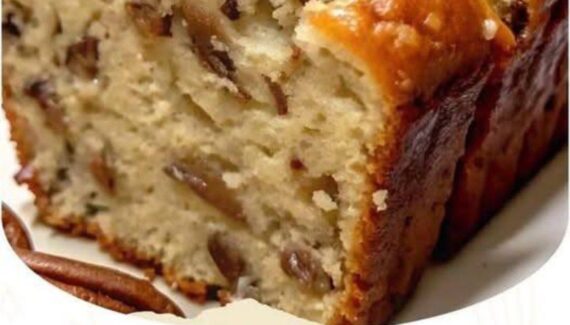
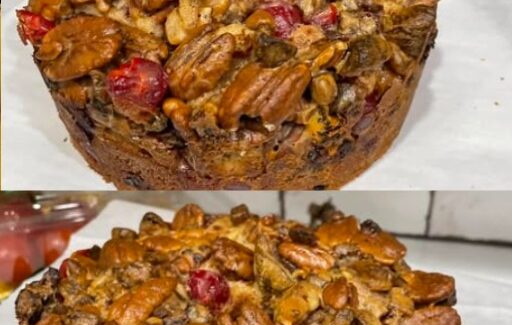
Next, sprinkle the chocolate chips, shredded coconut, and chopped nuts evenly over the top. As the cake bakes, these layers will sink into the batter, creating the signature uneven, marbled texture that gives this cake its dramatic name.
Step 4: Bake the Cake
Place the pan in the preheated oven and bake for 40–50 minutes, or until a toothpick inserted into the center comes out mostly clean (some chocolate chips will melt into the cake, which is normal). The top should be golden brown, with the coconut and nuts lightly toasted.
Pro Tip: If the top browns too quickly, cover loosely with aluminum foil for the last 10–15 minutes.
Step 5: Cool and Serve
Allow the cake to cool in the pan for at least 20–30 minutes. This step is important as it allows the layers to settle into the “earthquake” formation. Once slightly cooled, you can cut into squares or rectangles.
For a finishing touch, dust lightly with powdered sugar or serve with a scoop of vanilla ice cream. The combination of gooey chocolate, sweet coconut, and crunchy nuts makes every bite irresistible.
Variations and Tips
- Chocolate Lovers: Add extra chocolate chips or drizzle melted chocolate over the cooled cake for a double-chocolate explosion.
- Nut-Free: Omit nuts and add more coconut or chocolate chips for a safe alternative.
- Mini Earthquakes: Make in cupcake tins for individual servings—perfect for parties or school treats.
- Extra Gooey: Use caramel bits along with chocolate chips for a richer, stickier texture.
Conclusion
The Classic Earthquake Cake is a showstopper dessert that’s deceptively easy to make. Its layers of chocolate, coconut, and nuts “collapse” into a gooey, flavorful delight that is both visually impressive and utterly delicious. Whether you’re serving it at a family gathering or bringing it to a potluck, this cake will undoubtedly leave everyone asking for seconds. Once you try it, you’ll see why it earned the name “Earthquake Cake”—every bite is a sweet, irresistible tremor of flavor.
If you want, I can also create a visual step-by-step diagram showing how the layers collapse into the classic “earthquake” effect—makes it easier to follow for first-timers. Do you want me to do that?


No Responses Yet