
Step 3: Combine Cream and Condensed Milk
Gently fold the sweetened condensed milk and vanilla extract into the whipped cream. Use a spatula to mix carefully, keeping the mixture fluffy. This is your sweet, creamy base.
Step 4: Mix in the Fruits
Add your prepped fruits into the creamy mixture. If you like, also fold in optional add-ins like mini marshmallows, nuts, or coconut. Stir until everything is evenly coated with the creamy base.
Step 5: Transfer to a Freezer-Safe Container
Choose a container that’s wide and shallow for faster freezing. Spoon the fruit salad mixture into the container and smooth the top with a spatula.
Step 6: Freeze
Cover the container tightly with a lid or plastic wrap. Freeze for at least 4–6 hours, or until the dessert is firm enough to scoop. For best results, let it freeze overnight.
Step 7: Serve
Before serving, let the dessert sit at room temperature for 5–10 minutes to make scooping easier. Serve in bowls or cups, and optionally garnish with fresh fruit, a drizzle of honey, or a sprinkle of shredded coconut.
Tips for the Perfect Frozen Fruit Salad Dessert
- Balance sweetness: If your fruits are very sweet, you can reduce the condensed milk slightly.
- Avoid freezer burn: Cover tightly to prevent ice crystals from forming.
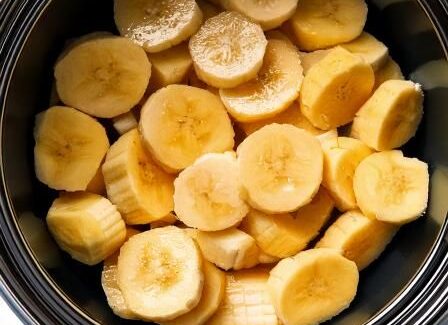
- Texture matters: Softer fruits like bananas or kiwi can become mushy when frozen—add them fresh on top before serving if desired.
- Make it ahead: This dessert is perfect for parties and gatherings; just make sure to give it a few minutes to soften before serving.
Why This Dessert Works
The magic of this Frozen Fruit Salad Dessert lies in the creamy whipped mixture combined with sweetened condensed milk, which prevents the dessert from freezing into a hard block. The fruits add bursts of flavor and freshness, while optional marshmallows, nuts, or coconut provide a delightful texture contrast. It’s a healthy-ish indulgence, easy to customize, and fun to serve.
This recipe is a summer-friendly, no-bake dessert that everyone will love. It’s light, fruity, and frozen, making it a perfect way to cool off or impress guests with minimal effort.
If you want, I can also create a step-by-step picture guide for this recipe so it looks like a professional dessert tutorial, which would make it super easy to follow. Do you want me to do that?


No Responses Yet