
3. Prepare the Cake Batter
In a medium bowl, whisk together the flour, granulated sugar, baking powder, and salt.
In a separate larger bowl, whisk the eggs, sour cream, vegetable oil, and vanilla extract until smooth. The sour cream helps create a soft texture while adding a subtle tang that balances the sweetness.
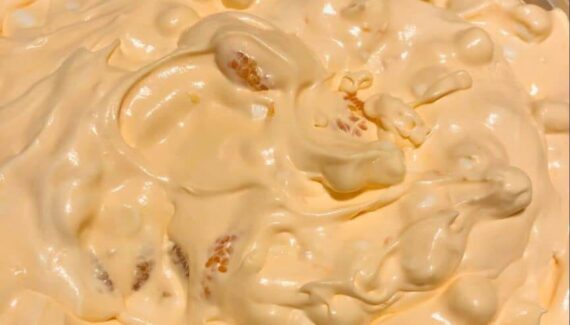
Gradually add the dry ingredients to the wet mixture. Stir gently with a spatula or whisk just until the flour disappears.
Avoid overmixing. A few small lumps are perfectly acceptable; excessive mixing can make the finished bars less tender.
4. Build the First Layer
Spread approximately half of the cake batter evenly across the bottom of the prepared pan.
The batter will be fairly thick, so use a spatula to gently push it toward the edges and smooth the surface.
Try to create an even layer so the cinnamon filling remains nicely centered after baking.
5. Add the Cinnamon Swirl
Sprinkle the prepared cinnamon mixture evenly over the first layer of batter.
Spread it from edge to edge rather than concentrating it in the middle. This ensures that nearly every bar gets a delicious layer of cinnamon sweetness.
6. Add the Remaining Batter
Carefully spoon the remaining cake batter over the cinnamon layer.
Because the batter is thick, don’t pour it all into one spot. Instead, place small spoonfuls across the surface and gently spread them together with a spatula.
Work slowly so you don’t disturb the cinnamon filling underneath.
7. Bake the Bars
Place the pan in the preheated oven and bake for approximately 25–32 minutes.
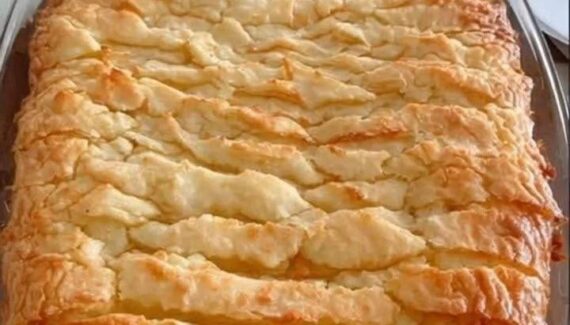
The bars are ready when the top is lightly golden and a toothpick inserted into the cake portion comes out clean or with only a few moist crumbs attached.
Try not to overbake them. Honey bun-style bars are best when they remain soft and tender in the center.
Once baked, remove the pan from the oven and place it on a cooling rack.
8. Prepare the Glaze
While the bars are cooling, make the glaze.
Add the powdered sugar to a small bowl. Whisk in the milk, melted butter, vanilla extract, and a small pinch of salt.
Continue whisking until the glaze is smooth and pourable.
If the glaze seems too thick, add a few drops of milk at a time. If it becomes too thin, add a little more powdered sugar.
The ideal consistency should allow the glaze to spread easily across the cake without becoming completely runny.
9. Glaze the Bars
Allow the cake to cool for about 10–15 minutes before glazing.
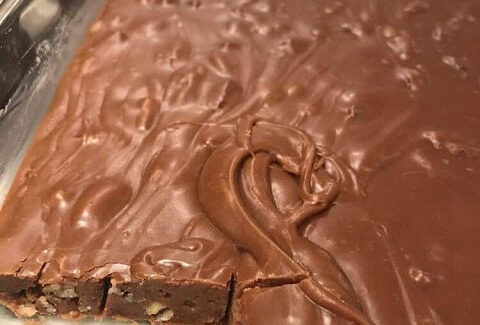
Pour the glaze over the top and use a spatula or the back of a spoon to spread it into an even layer.
For a slightly more rustic appearance, let some of the glaze naturally drip into the edges and corners.
If you prefer a thicker glaze, allow the first layer to set for several minutes before adding a second thin layer.
10. Let the Glaze Set
Leave the glazed bars at room temperature for about 20–30 minutes, or until the glaze has begun to firm up.
This short resting period makes them easier to cut and helps the cinnamon filling settle into the cake.
11. Slice and Serve
Run a sharp knife around the edges if necessary, then cut the cake into squares or rectangular bars.
For clean slices, wipe the knife between cuts.
The bars can be enjoyed at room temperature, but they are particularly comforting when served slightly warm. Pair one with coffee, tea, or a cold glass of milk for a simple dessert or breakfast-style treat.
Tips for Perfect Honey Bun Bars
Don’t overmix the batter. Once the dry ingredients are incorporated, stop mixing. Overworking the flour can produce a tougher texture.
Spread the batter gently. The thick batter can be easier to handle if you use the back of a spoon or an offset spatula.
Watch the baking time. Oven temperatures vary, so begin checking the bars around the 25-minute mark. The goal is a tender cake rather than a dry one.
Adjust the glaze as needed. Powdered sugar absorbs liquid differently depending on the brand and environment. Add milk gradually until you reach your preferred consistency.
Let the cake cool slightly before glazing. If the bars are extremely hot, the glaze can melt and become too thin.
How to Store Them
Store the cooled bars in an airtight container at room temperature for up to 3 days. For longer storage, refrigerate them for up to 5 days.
If refrigerated, allow the bars to sit at room temperature for a short time before serving, or warm an individual piece gently in the microwave.
The bars can also be frozen. Wrap individual pieces tightly and place them in a freezer-safe container or bag. Freeze for up to 2 months. Thaw them in the refrigerator or at room temperature before serving.
Final Thoughts
Glazed Honey Bun Bars bring together everything that makes a classic honey bun so appealing: a soft cake, warm cinnamon sweetness, buttery richness, and a smooth sugary topping. The layered preparation gives the bars an attractive swirl of cinnamon flavor without requiring the dough-making process associated with traditional honey buns.
They’re simple enough for a weekday baking project yet satisfying enough to serve at a gathering. Once you have the basic method down, you can easily adjust the cinnamon filling or glaze to suit your taste. Whether enjoyed with morning coffee or served as an after-dinner treat, these bars offer a comforting homemade dessert with plenty of bakery-style flavor.


No Responses Yet