
Step 3: Bake the Cheesecake
- Place the cheesecake in the preheated oven and bake for 50–60 minutes, or until the edges are set but the center still jiggles slightly when gently shaken.
- Turn off the oven and let the cheesecake cool inside the oven for 1 hour with the door slightly open. This prevents cracking.
- Remove from the oven and chill in the refrigerator for at least 4 hours (overnight is best) before adding the meringue topping.
Step 4: Prepare the Lemon Meringue
- In a clean, dry bowl, beat the egg whites with an electric mixer on medium speed until foamy.
- Add cream of tartar and continue beating until soft peaks form.
- Gradually add sugar, one tablespoon at a time, beating on high speed until stiff peaks form.
- Beat in the vanilla extract (and food coloring if using) for extra flavor and color.
Step 5: Top and Toast the Meringue
- Preheat your oven’s broiler on low, or set it to 350°F (175°C) if broiler isn’t available.
- Spread the meringue evenly over the chilled cheesecake, swirling it with a spatula for a decorative look.
- Toast the meringue for 2–5 minutes, watching closely until it turns light golden brown.
Step 6: Serve and Enjoy
- Let the cheesecake cool slightly after toasting the meringue.
- Carefully remove the springform pan sides and transfer to a serving plate.
- Slice with a sharp knife, wiping the blade between cuts for neat slices.
- Garnish with lemon zest or thin lemon slices for an extra touch of elegance.
Tips for Success
- Room temperature ingredients: Make sure your cream cheese and eggs are at room temperature for a smoother cheesecake.
- No cracks: Bake in a water bath or let the cheesecake cool slowly to prevent cracking.
- Meringue stability: Use clean, grease-free bowls and beaters to achieve stiff peaks.
- Extra tang: Add 1 teaspoon of lemon extract for a more pronounced citrus flavor.
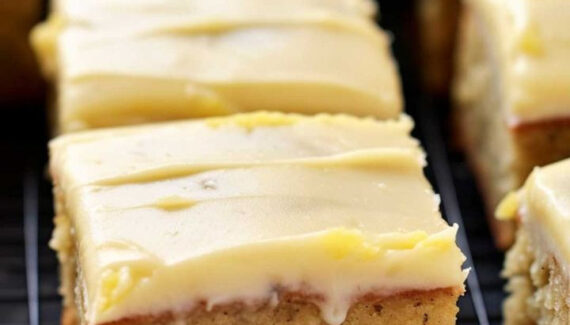
Lemon Meringue Cheesecake is a dessert that balances tangy, creamy, and sweet perfectly. It’s ideal for holidays, birthdays, or any special occasion where you want a dessert that both tastes incredible and looks impressive.
If you want, I can also create a version with step-by-step photos for each stage, so it’s like a mini visual recipe guide. That makes it much easier to follow and more fun to make.
Do you want me to do that?


No Responses Yet