Step 5: Let It Dry
Place the formed rocks on a tray or in a muffin tin. Let them dry overnight, or up to 24 hours in a dry place. They should harden into solid “rocks” that don’t crumble when handled.
How to Use the Magic Treasure Rocks
Once dry, your rocks are ready to use! Fill a bowl or basin with warm water and drop a rock in.
Watch as the fizzing starts immediately, bubbling and foaming as the rock dissolves. Within a minute or two, the hidden treasure is revealed — to the delight of anyone watching.
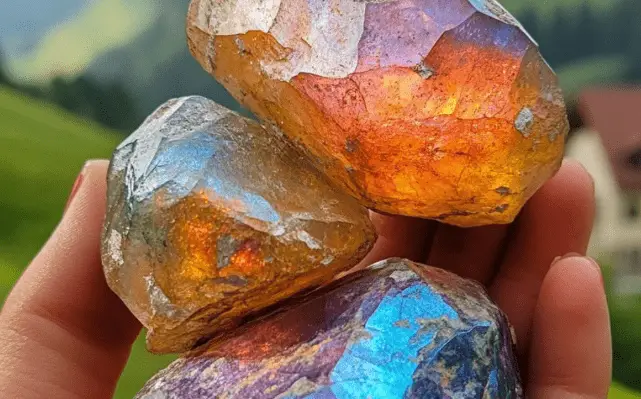
Fun Variations and Themes
- Dino Dig: Hide small dinosaur figures and make “fossil rocks.”
- Gem Mining: Add glitter and hide shiny plastic gems.
- Pirate Gold: Use gold coins and tint your rocks sandy brown.
- Fairy Stones: Add pastel colors, lavender oil, and fairy-themed charms.
- Secret Notes: Hide a scroll with a riddle or uplifting message.
Storage Tips
- Store finished rocks in an airtight container to keep them dry.
- Avoid humid environments, which can trigger the reaction prematurely.
- Label them and include usage instructions if gifting.
Educational Benefits
Magic Treasure Rocks aren’t just fun — they’re educational too! This project teaches:
- Basic chemistry (acid-base reactions)
- Sensory and fine motor skills (through mixing and shaping)
- Patience (during the drying and fizzing stages)
- Creative thinking and storytelling
Final Thoughts
Magic Treasure Rocks are a brilliant blend of science, creativity, and surprise. Whether used for educational play, party favors, or just a rainy-day activity, they provide a hands-on, delightful experience that sparks wonder in kids and adults alike.
So gather your ingredients, pick your treasures, and start crafting your own fizzy adventure. The magic is in the surprise!
Would you like a printable version of this guide or a video script for a tutorial?


No Responses Yet