
Step 2: Make the Cheesecake Filling
In a large mixing bowl, beat the softened cream cheese until smooth and creamy. This step is crucial—any lumps here will affect the final texture.
Add the sugar and continue mixing until fully combined. Then stir in the vanilla extract and lemon juice.
In a separate bowl, whip the heavy cream until it forms soft peaks. This means the cream should hold its shape but still be slightly soft when you lift the whisk.
Gently fold the whipped cream into the cream cheese mixture. Do this slowly and carefully to keep the mixture light and airy.
Step 3: Assemble the Cheesecake
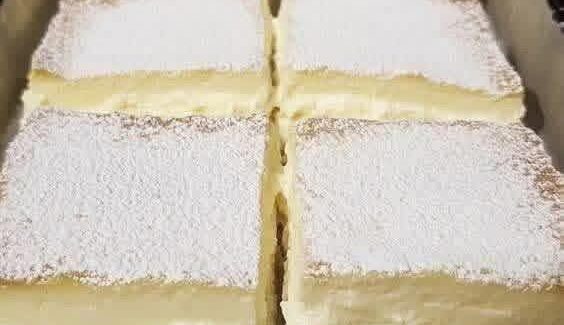
Take the chilled crust out of the refrigerator. Pour the filling over the crust and spread it evenly using a spatula.
Smooth the top as much as possible for a clean, professional look.
Step 4: Chill Until Set
Cover the cheesecake with plastic wrap or foil and place it in the refrigerator.
Let it chill for at least 4–6 hours, but ideally overnight. This allows the filling to firm up and develop its creamy consistency.
Step 5: Add Toppings and Serve
Once fully set, remove the cheesecake from the pan. You can run a knife along the edges before releasing the springform to ensure clean sides.
Top your cheesecake with fresh fruits, sauces, or anything you like. Slice and serve chilled.
Tips for Success
- Use full-fat cream cheese for the best flavor and texture.
- Don’t skip chilling time—this is what replaces baking in setting the cake.
- Fold gently when combining whipped cream to keep the mixture fluffy.
- For a firmer texture, you can add a small amount of dissolved gelatin, though it’s optional.
Final Thoughts
No-bake cheesecake is proof that impressive desserts don’t have to be complicated. With minimal ingredients and no oven required, it’s a go-to recipe for warm days, quick gatherings, or whenever you want something indulgent without the hassle.
Once you master the base recipe, you can experiment endlessly—add chocolate, swirl in fruit purée, or even create layered versions.


No Responses Yet