
Step 5: Mix in the Dry Ingredients
Gradually add the dry flour mixture to the wet ingredients. Mix on low speed or fold in with a spatula until just combined. Overmixing at this stage can make cookies tough.
Step 6: Add Chocolate Chips (and Nuts)
Fold in the chocolate chips (and nuts, if using) evenly throughout the dough. You want chocolate in every bite, so don’t be shy here!
Step 7: Scoop the Cookies
Using a cookie scoop or tablespoon, drop evenly sized balls of dough onto the prepared baking sheet, spacing them about 2 inches apart. This allows room for spreading without merging.
Pro tip: For chewier cookies, slightly flatten the dough balls before baking.
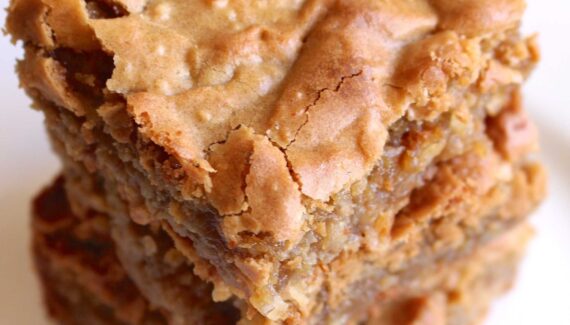
Step 8: Bake to Perfection
Bake in your preheated oven for 9–11 minutes, or until the edges are golden brown but the centers are still soft. The cookies will continue to cook slightly as they cool.
Step 9: Cool and Enjoy
Let the cookies cool on the baking sheet for 5 minutes before transferring them to a wire rack. This step helps them set without breaking apart.
Extra Tips for the Ultimate Cookie
- Butter Temperature: Room temperature butter works best. Too cold, and it won’t cream well; too melted, and your cookies spread too much.
- Brown Sugar Ratio: Brown sugar keeps cookies soft and adds a subtle caramel flavor.
- Chill the Dough: For thicker cookies, chill the dough for 30–60 minutes before baking.
- Mix Chocolate Types: Try mixing semi-sweet, dark, and milk chocolate chips for deeper flavor.
- Storage: Store cookies in an airtight container at room temperature for up to 5 days. You can also freeze dough balls for fresh-baked cookies anytime.
Final Thoughts
Baking the ultimate chocolate chip cookies is a delightful combination of science and art. By following these steps, you’ll create cookies with the perfect balance of soft, chewy, and slightly crisp edges. The warm aroma that fills your kitchen will be a reward in itself—but one bite of these chocolate-studded delights is pure magic.
If you want, I can also create a visual step-by-step guide with images for each stage so it’s easier to follow while baking.
Do you want me to do that?


No Responses Yet