
Step 4: Incorporate Dry Ingredients
- In a separate bowl, whisk together all-purpose flour and salt.
- Gradually add the flour mixture to the wet ingredients, mixing on low speed.
- Mix until the dough comes together. It should be soft but not sticky.
- Tip: Overmixing at this stage develops gluten and can result in denser cookies. Gentle folding is best.
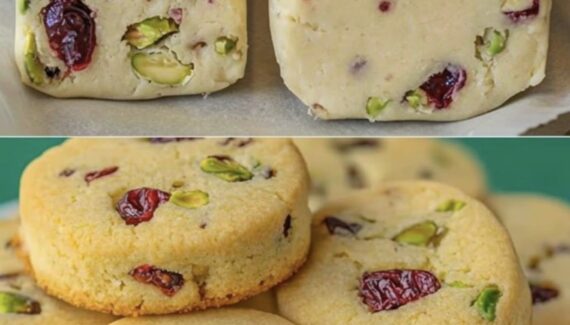
Step 5: Shape the Cookies
Butter cookies can be shaped in several ways:
- Spoon Method: Use a small cookie scoop to drop rounded balls onto the baking sheet, spacing them 2 inches apart.
- Rolling Method: Roll the dough into 1-inch balls, then flatten slightly with your palm or the bottom of a glass.
- Piping Method: Fill a piping bag fitted with a star tip to create elegant swirls or shapes.
If desired, sprinkle a little coarse sugar on top for extra sparkle and crunch.
Step 6: Bake to Perfection
- Place the baking sheet in the preheated oven.
- Bake for 10-12 minutes, or until the edges are just starting to turn light golden brown.
- Tip: Butter cookies should remain pale in the center for a tender, melt-in-your-mouth texture.
- Rotate the pan halfway through baking to ensure even cooking.
Step 7: Cool and Enjoy
- Remove the cookies from the oven and let them cool on the baking sheet for 5 minutes.
- Transfer to a wire rack to cool completely.
- For an extra touch, dip the cooled cookies in melted chocolate or drizzle with a thin glaze.
Tips for the Perfect Butter Cookie
- Room Temperature Ingredients: Ensures smooth, even mixing.
- Do Not Overbake: Butter cookies continue to set as they cool. Overbaking will make them dry.
- Storage: Keep cookies in an airtight container at room temperature for up to 1 week. They also freeze beautifully for longer storage.
- Flavor Variations: Add citrus zest, cinnamon, or almond extract for subtle flavor twists.
Why These Are the World’s Best Butter Cookies
These cookies strike the perfect balance of buttery richness and tender texture. Each bite melts in your mouth, leaving a delicate sweetness and a hint of vanilla. The versatility in shaping and decorating allows them to shine for any occasion, from cozy tea times to festive celebrations.
If you want, I can also create a visual step-by-step guide with pictures for each stage of these butter cookies—it makes it super easy to follow even for beginners.
Do you want me to do that?


No Responses Yet